

So this is it. My first post on this little space of mine. I’m excited and nervous at the same time. So let’s just start, shall we?

With the abundance of fresh summer berries and fruit, I’ve been canning like a mad one. We have a long, dark season ahead of us and a little jam at my breakfast table always helps me get through those winter mornings when I would prefer to stay in bed and wake up when it’s spring again.
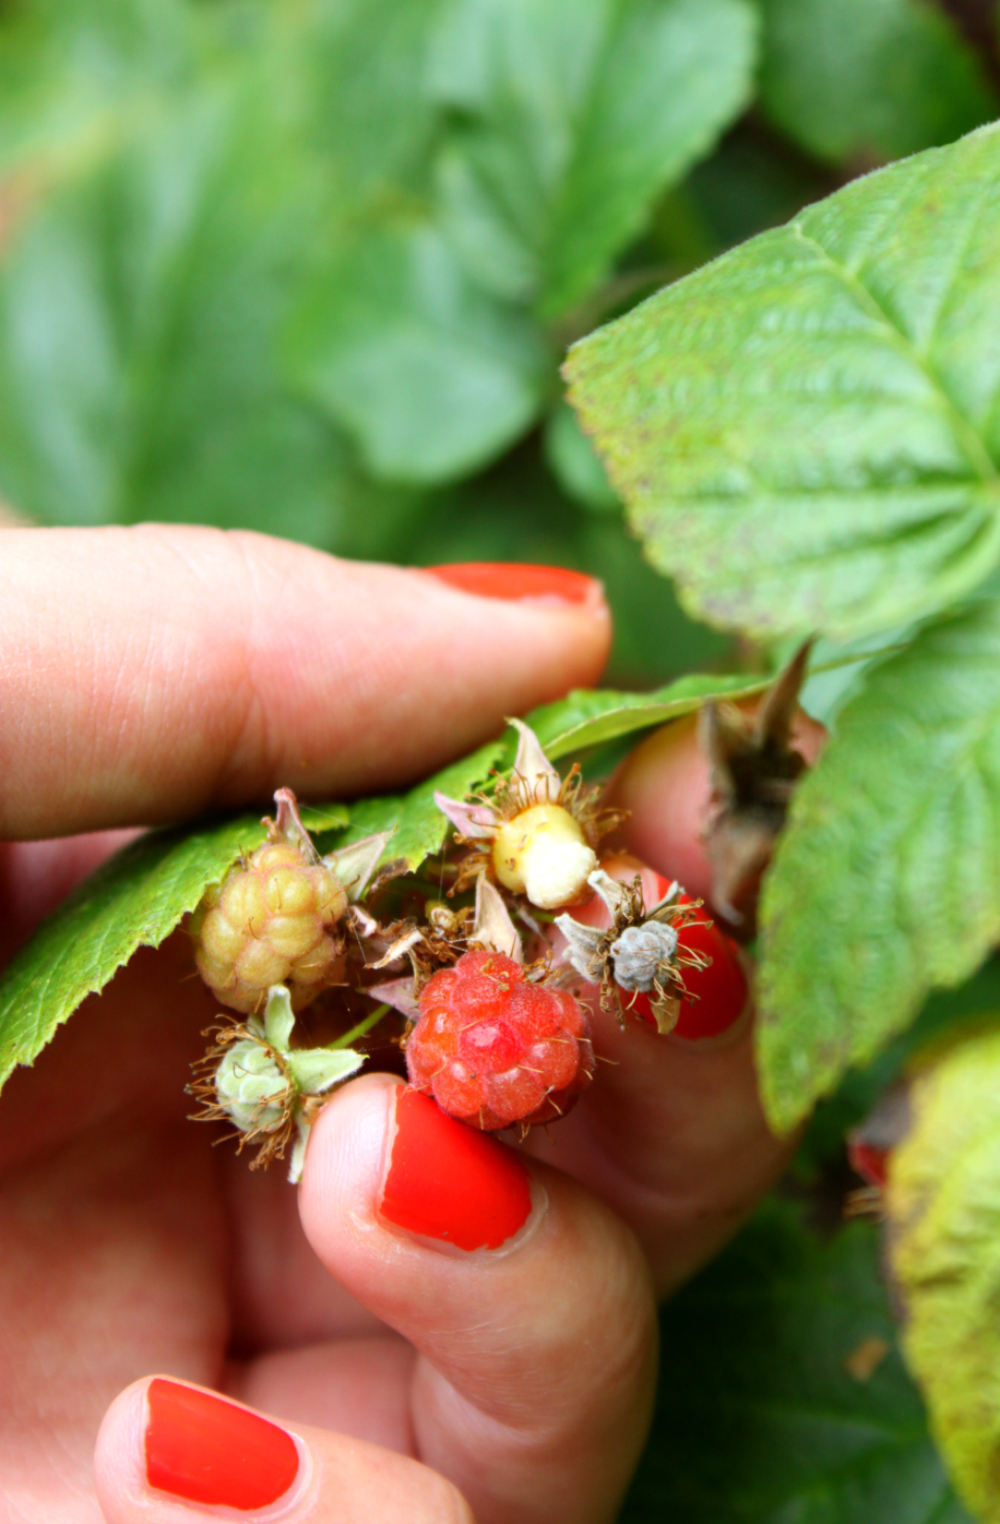
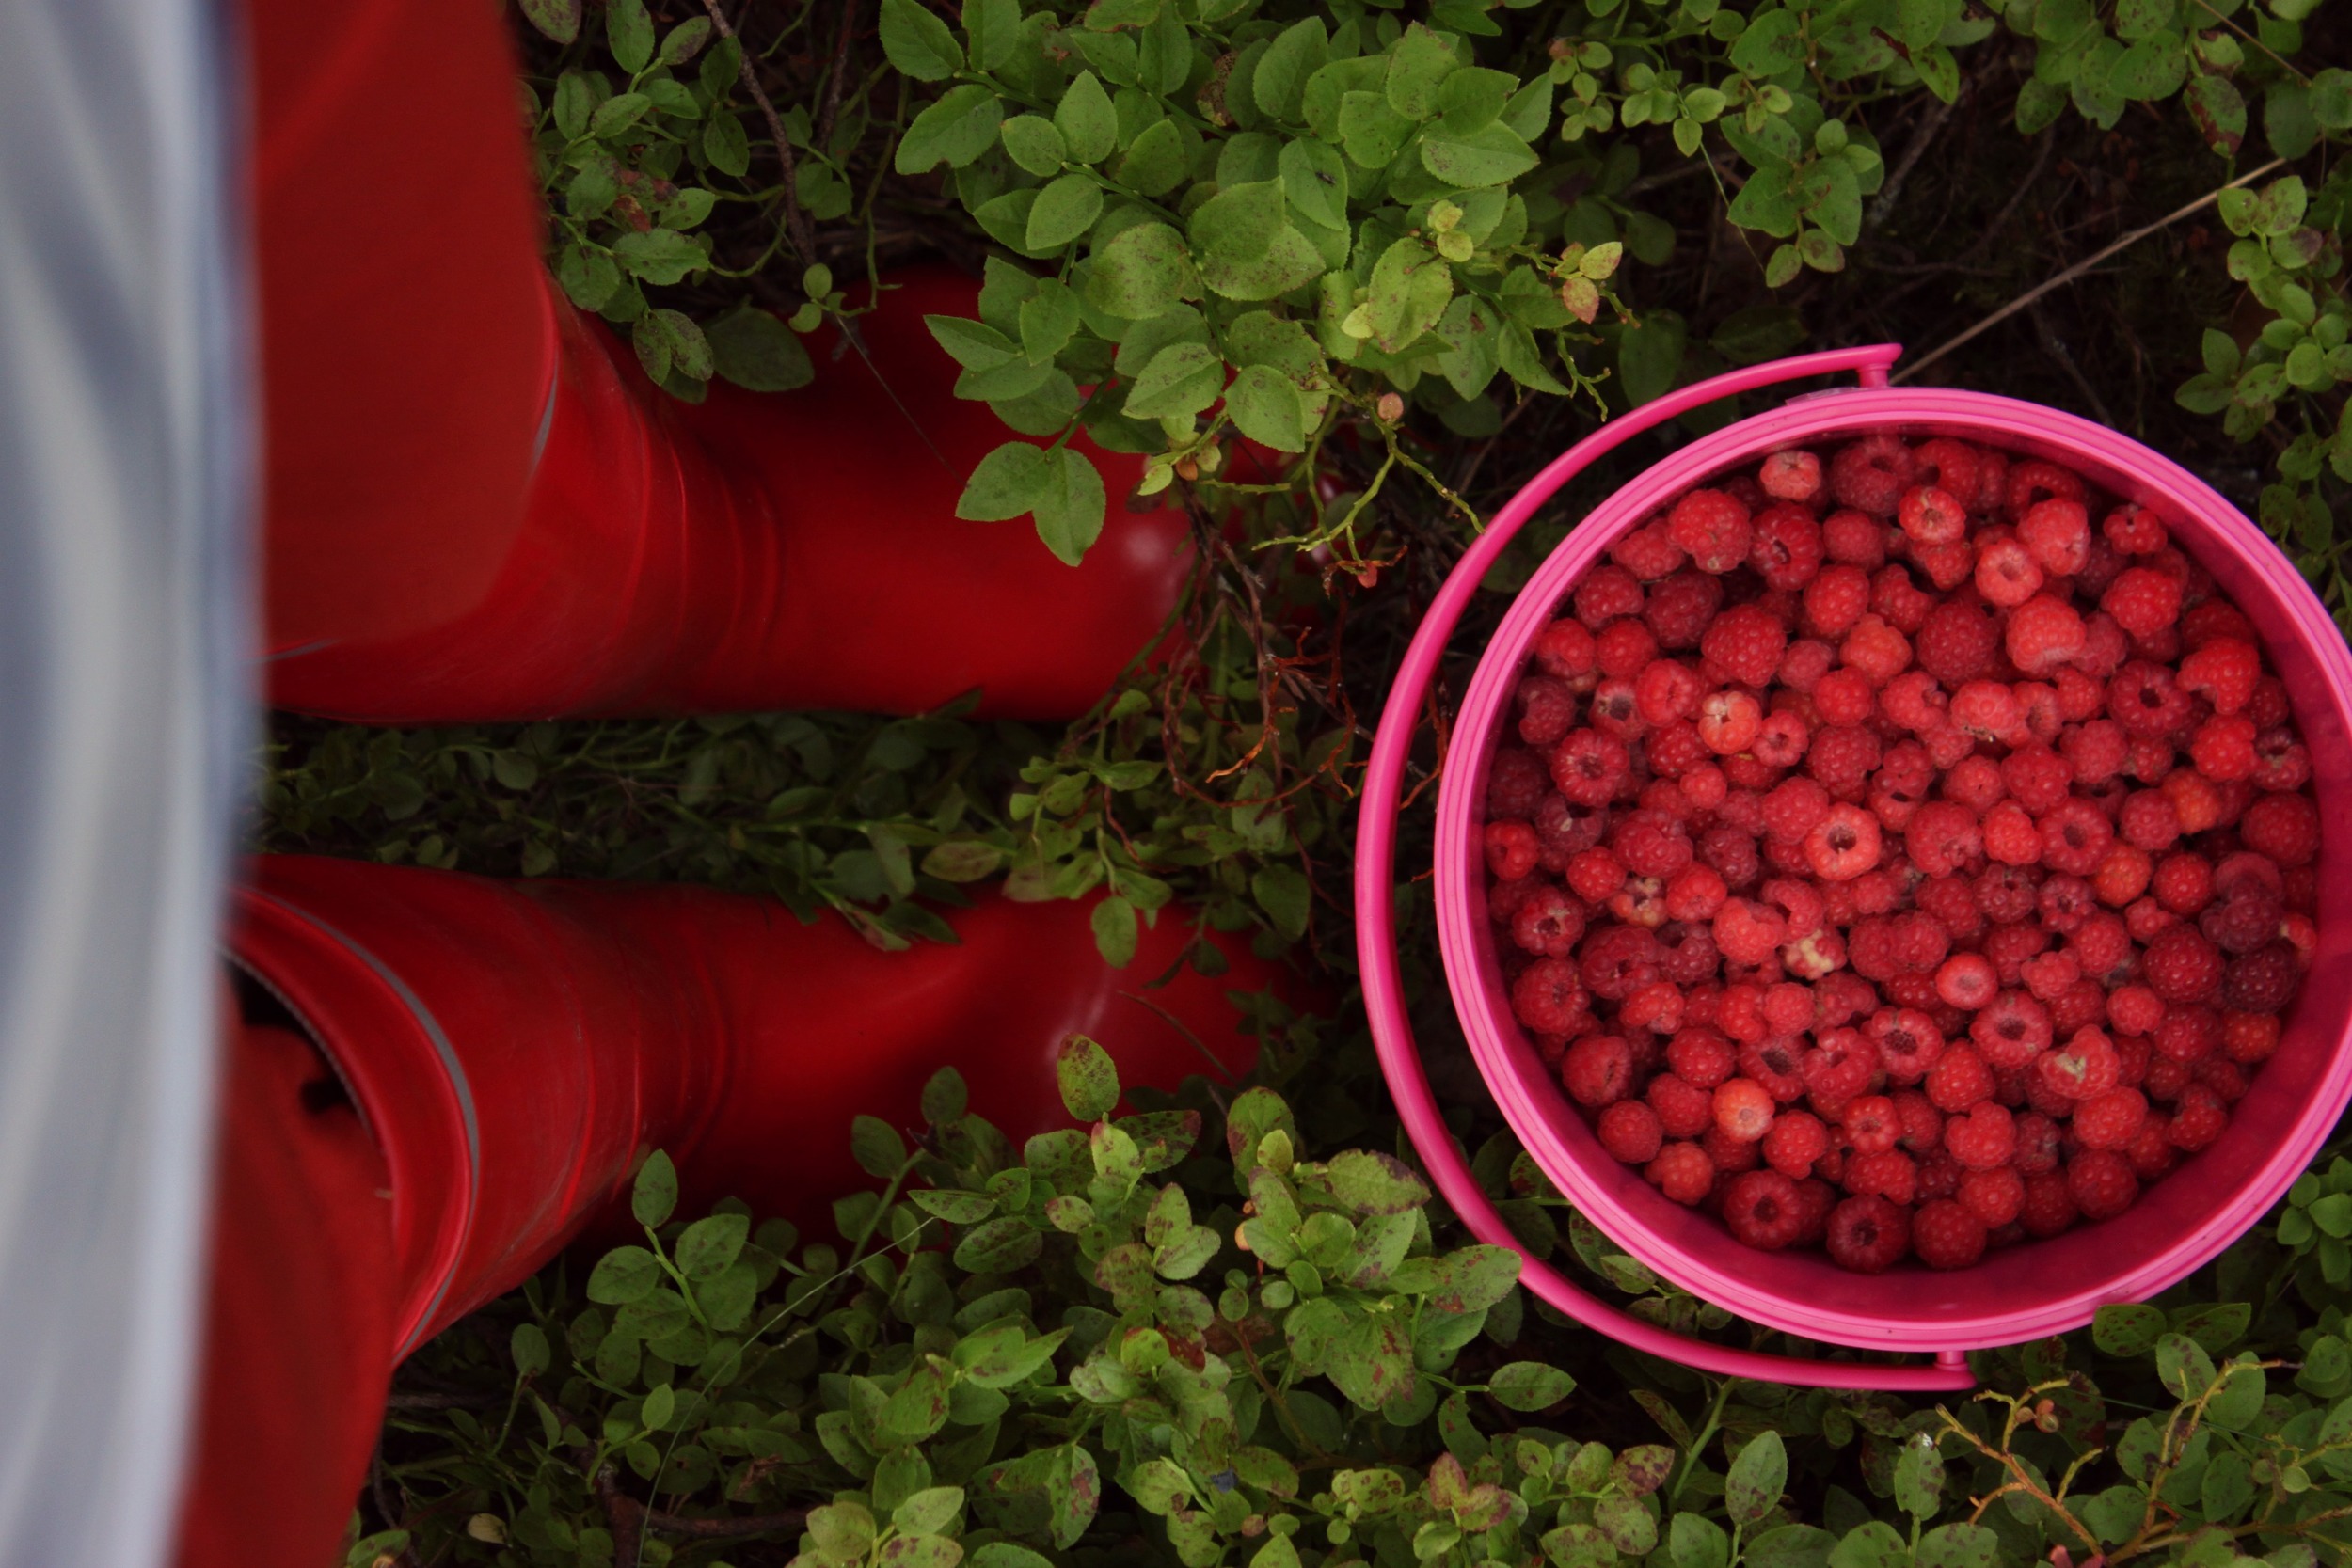
So I've been picking berries at our summer cottage in the mornings and afternoons and canning on the evenings. When preserving, it's important to make sure that everything is at their peak of quality. You don't want one rotten berry or piece of fruit to ruin your whole batch of jam. Always work with clean equipment and try to work fast.
Mixing raspberries and blueberries is quite a traditional flavor combination for jam here in Scandinavia. We call it Queen Jam. Wait, Queen Jam? Where’s the King? Please don’t ask, I really don’t know why it’s called that way. I use wild raspberries and bilberries (“European blueberries”) as they both have a much stronger, more tart flavor than cultivated raspberries and “American” blueberries. This jam is especially delicious served with crêpes or waffles and whipped cream.

Queen Jam
yields about 1,15 l
650 g (23 oz) raspberries, cleaned
350 g (12.3 oz) bilberries, cleaned
330 g (11.6 oz) gelling sugar 3:1
25 ml (2 tbsp) water
optional: ½ vanilla bean, sliced lengthwise & seeds scraped out
To sterilize the jars: Preheat the oven to 110°C (230°F). Put the clean and empty jars in the oven for 5 to 10 minutes. To sterilize the jar lids, put them in boiling water for 5 to 10 minutes. Fill the jars with the hot jam immediately.
Making the jam: Put the berries, gelling sugar, water, vanilla bean and seeds in a medium-sized pot. Gently bring the mixture to a boil and keep boiling for 3-5 minutes stirring regularly (please check the instructions on your gelling sugar). Skim off and discard any foam from the surface of the mixture as it cooks. To check if the jam is ready, you can drizzle some jam on a cold plate. It should set within a couple of seconds, otherwise keep the jam boiling for some more minutes (this is a great tip which I’ve learned from delicious days). Discard the vanilla bean. With the help of a funnel tube, fill the sterilized jars with boiling hot jam, leaving about half a centimetre (or less) of headspace. Close jars with the lids and let cool completely.
I highly recommend labeling your jars so you know what you have in your pantry (I’m talking from experience here). I especially love these ones. Because this jam is made with less sugar than regular jam, it needs to be stored in the fridge. If the jars are properly sterilized and sealed, the jam will last for up to one year.
Note: You can also make this jam using 500 g of gelling sugar 1:2. The jam will of course be sweeter and the cooking time will probably vary as well. This kind of jam can even be stored in room temperature. You could also use slightly thawed frozen berries. Just omit the water if doing so.