Hello Winter, old friend – Kaiserschmarrn

Kaiserschmarrn | My Blue&White Kitchen

Well hello winter, old friend! Seriously folks, can you believe it's already December? This fall has gone by so incredibly fast with a new job and exciting projects. I'm usually one of the first ones to begin with Christmas baking (so many favorite cookies plus new ones to explore) but I haven't baked a single batch yet. I will definitely change that this week - maybe with some Florentines dipped in dark chocolate? Or with a batch of last year's rose pistachio shortbread?

If you're looking for a great blog for the holiday season, you should definitely visit the Munich-based blog delicious:days – there isn't a single recipe I haven't loved and Nicky is as nuts as me when it comes to holiday baking (or food in general).

Kaiserschmarrn | My Blue&White Kitchen

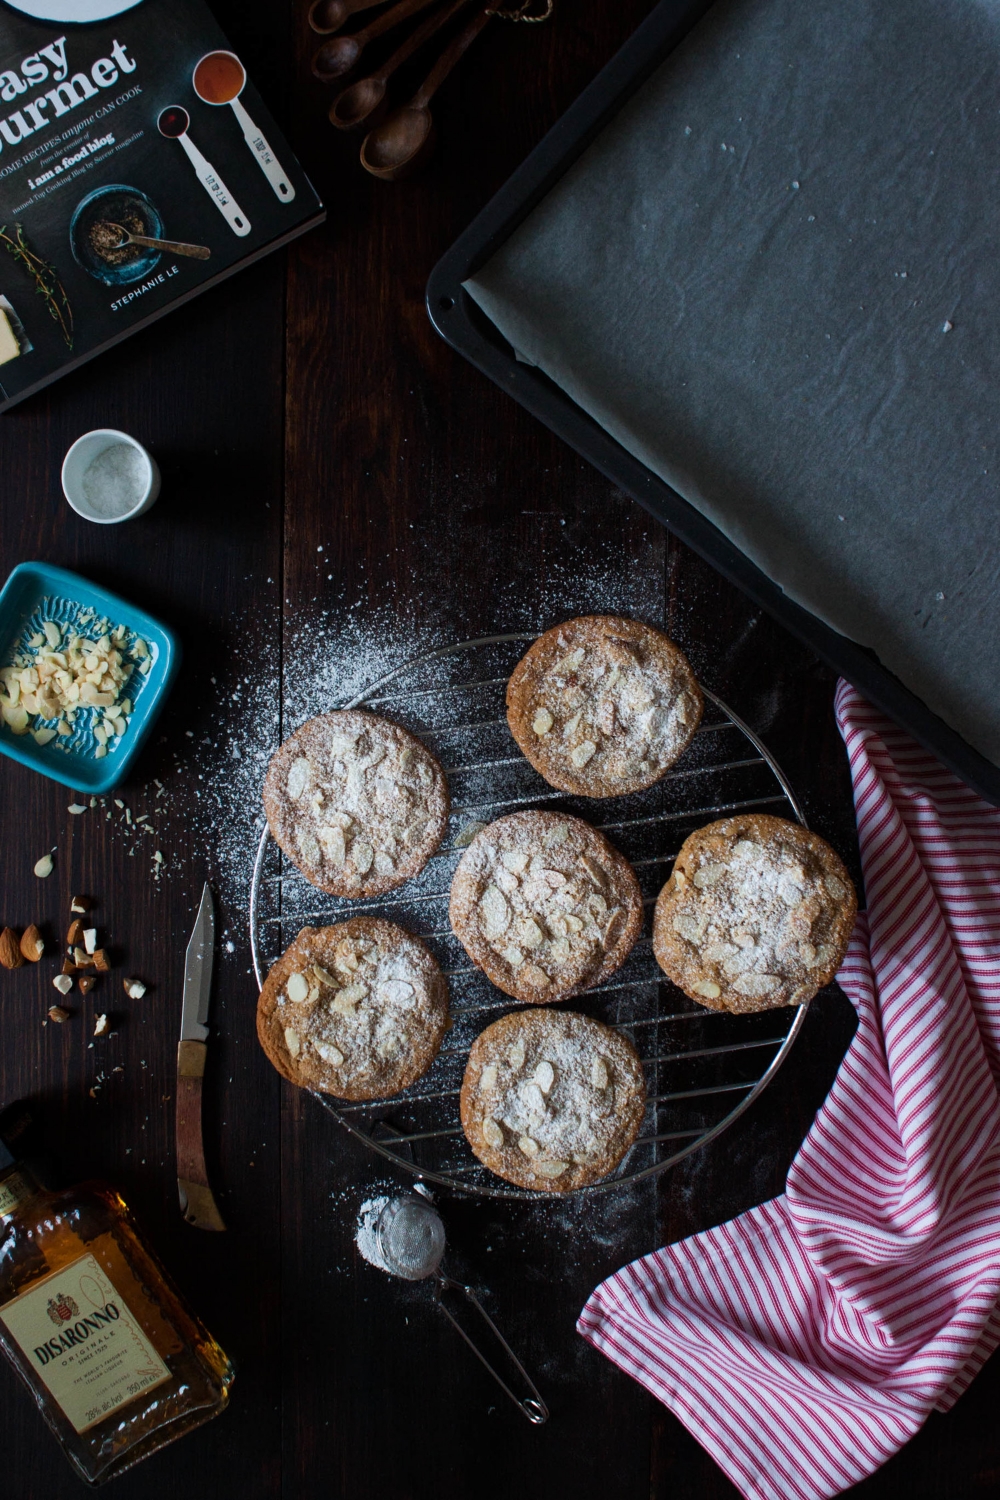
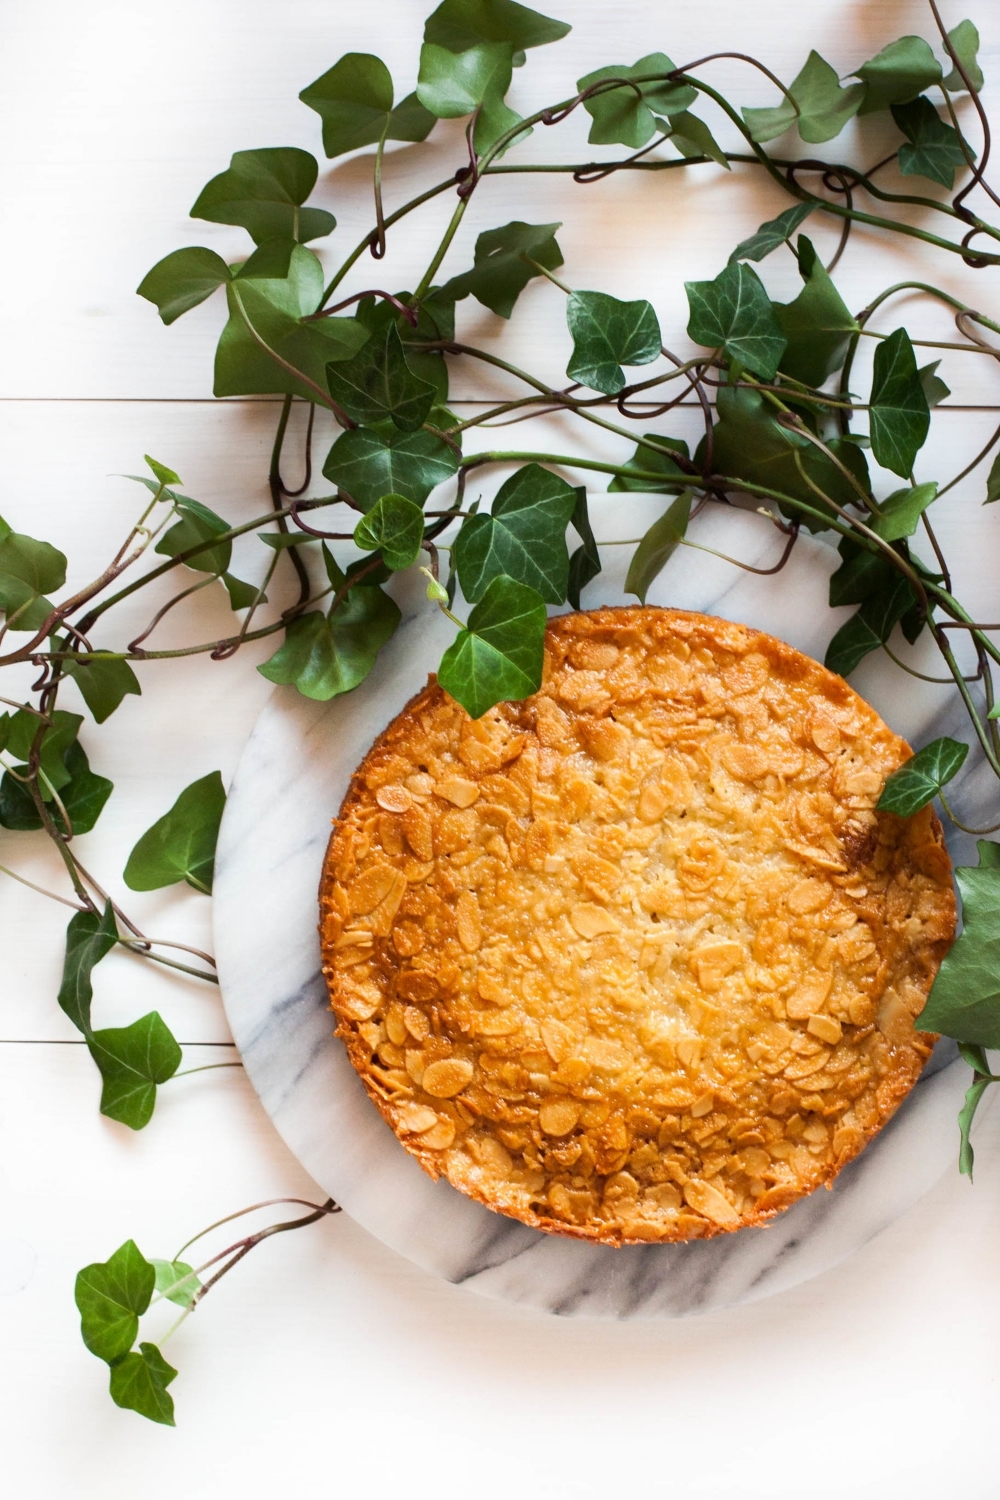
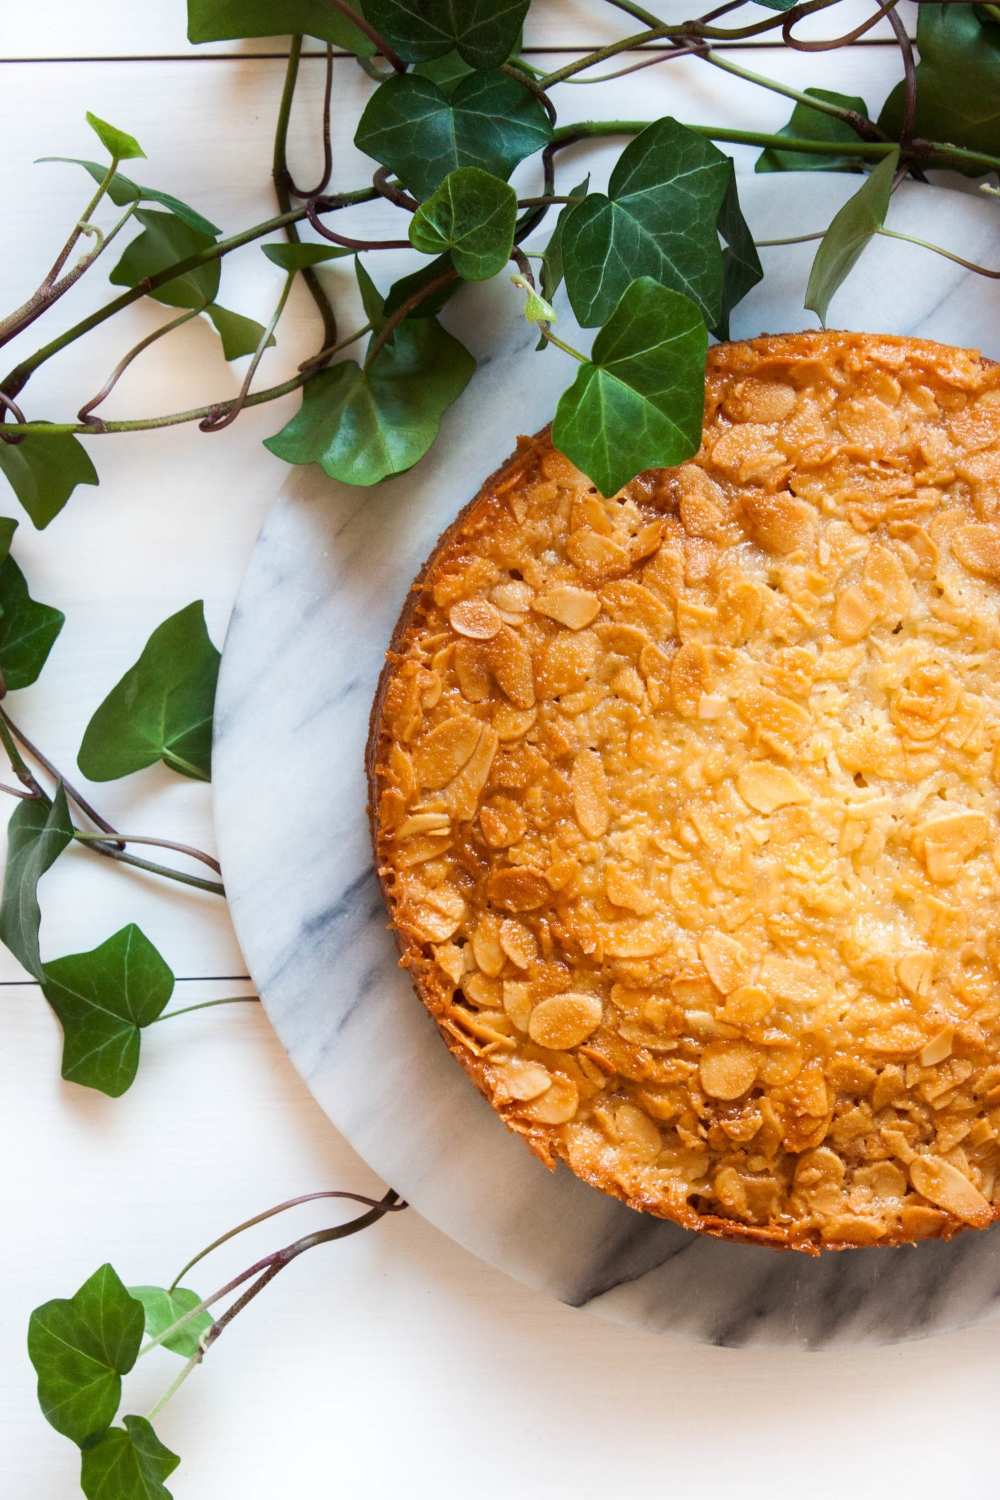
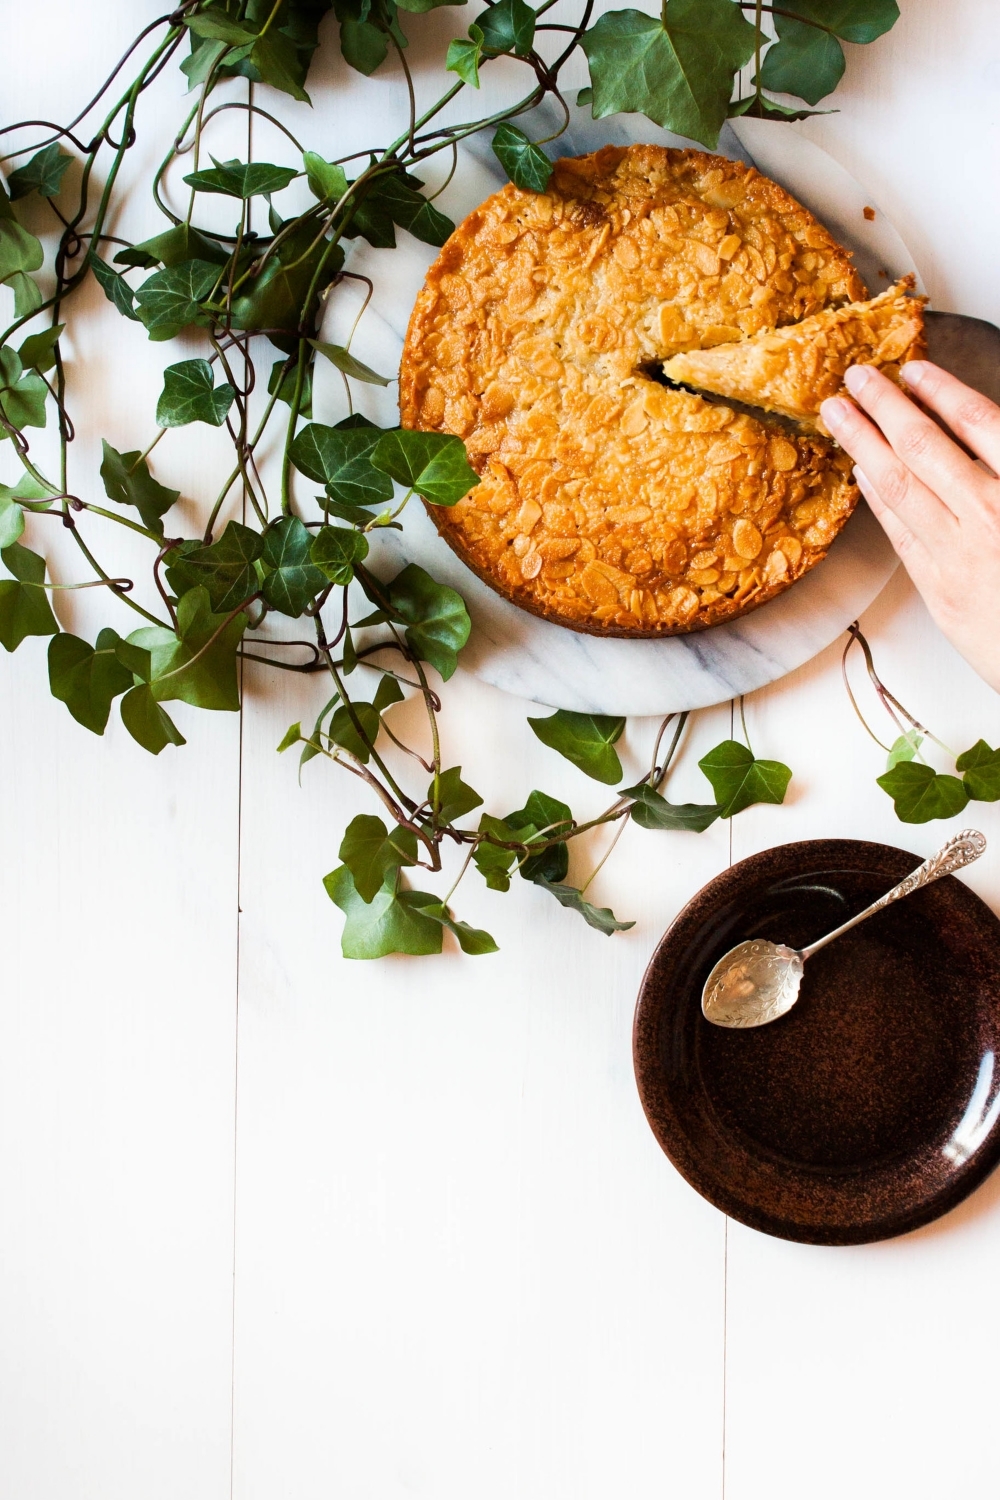
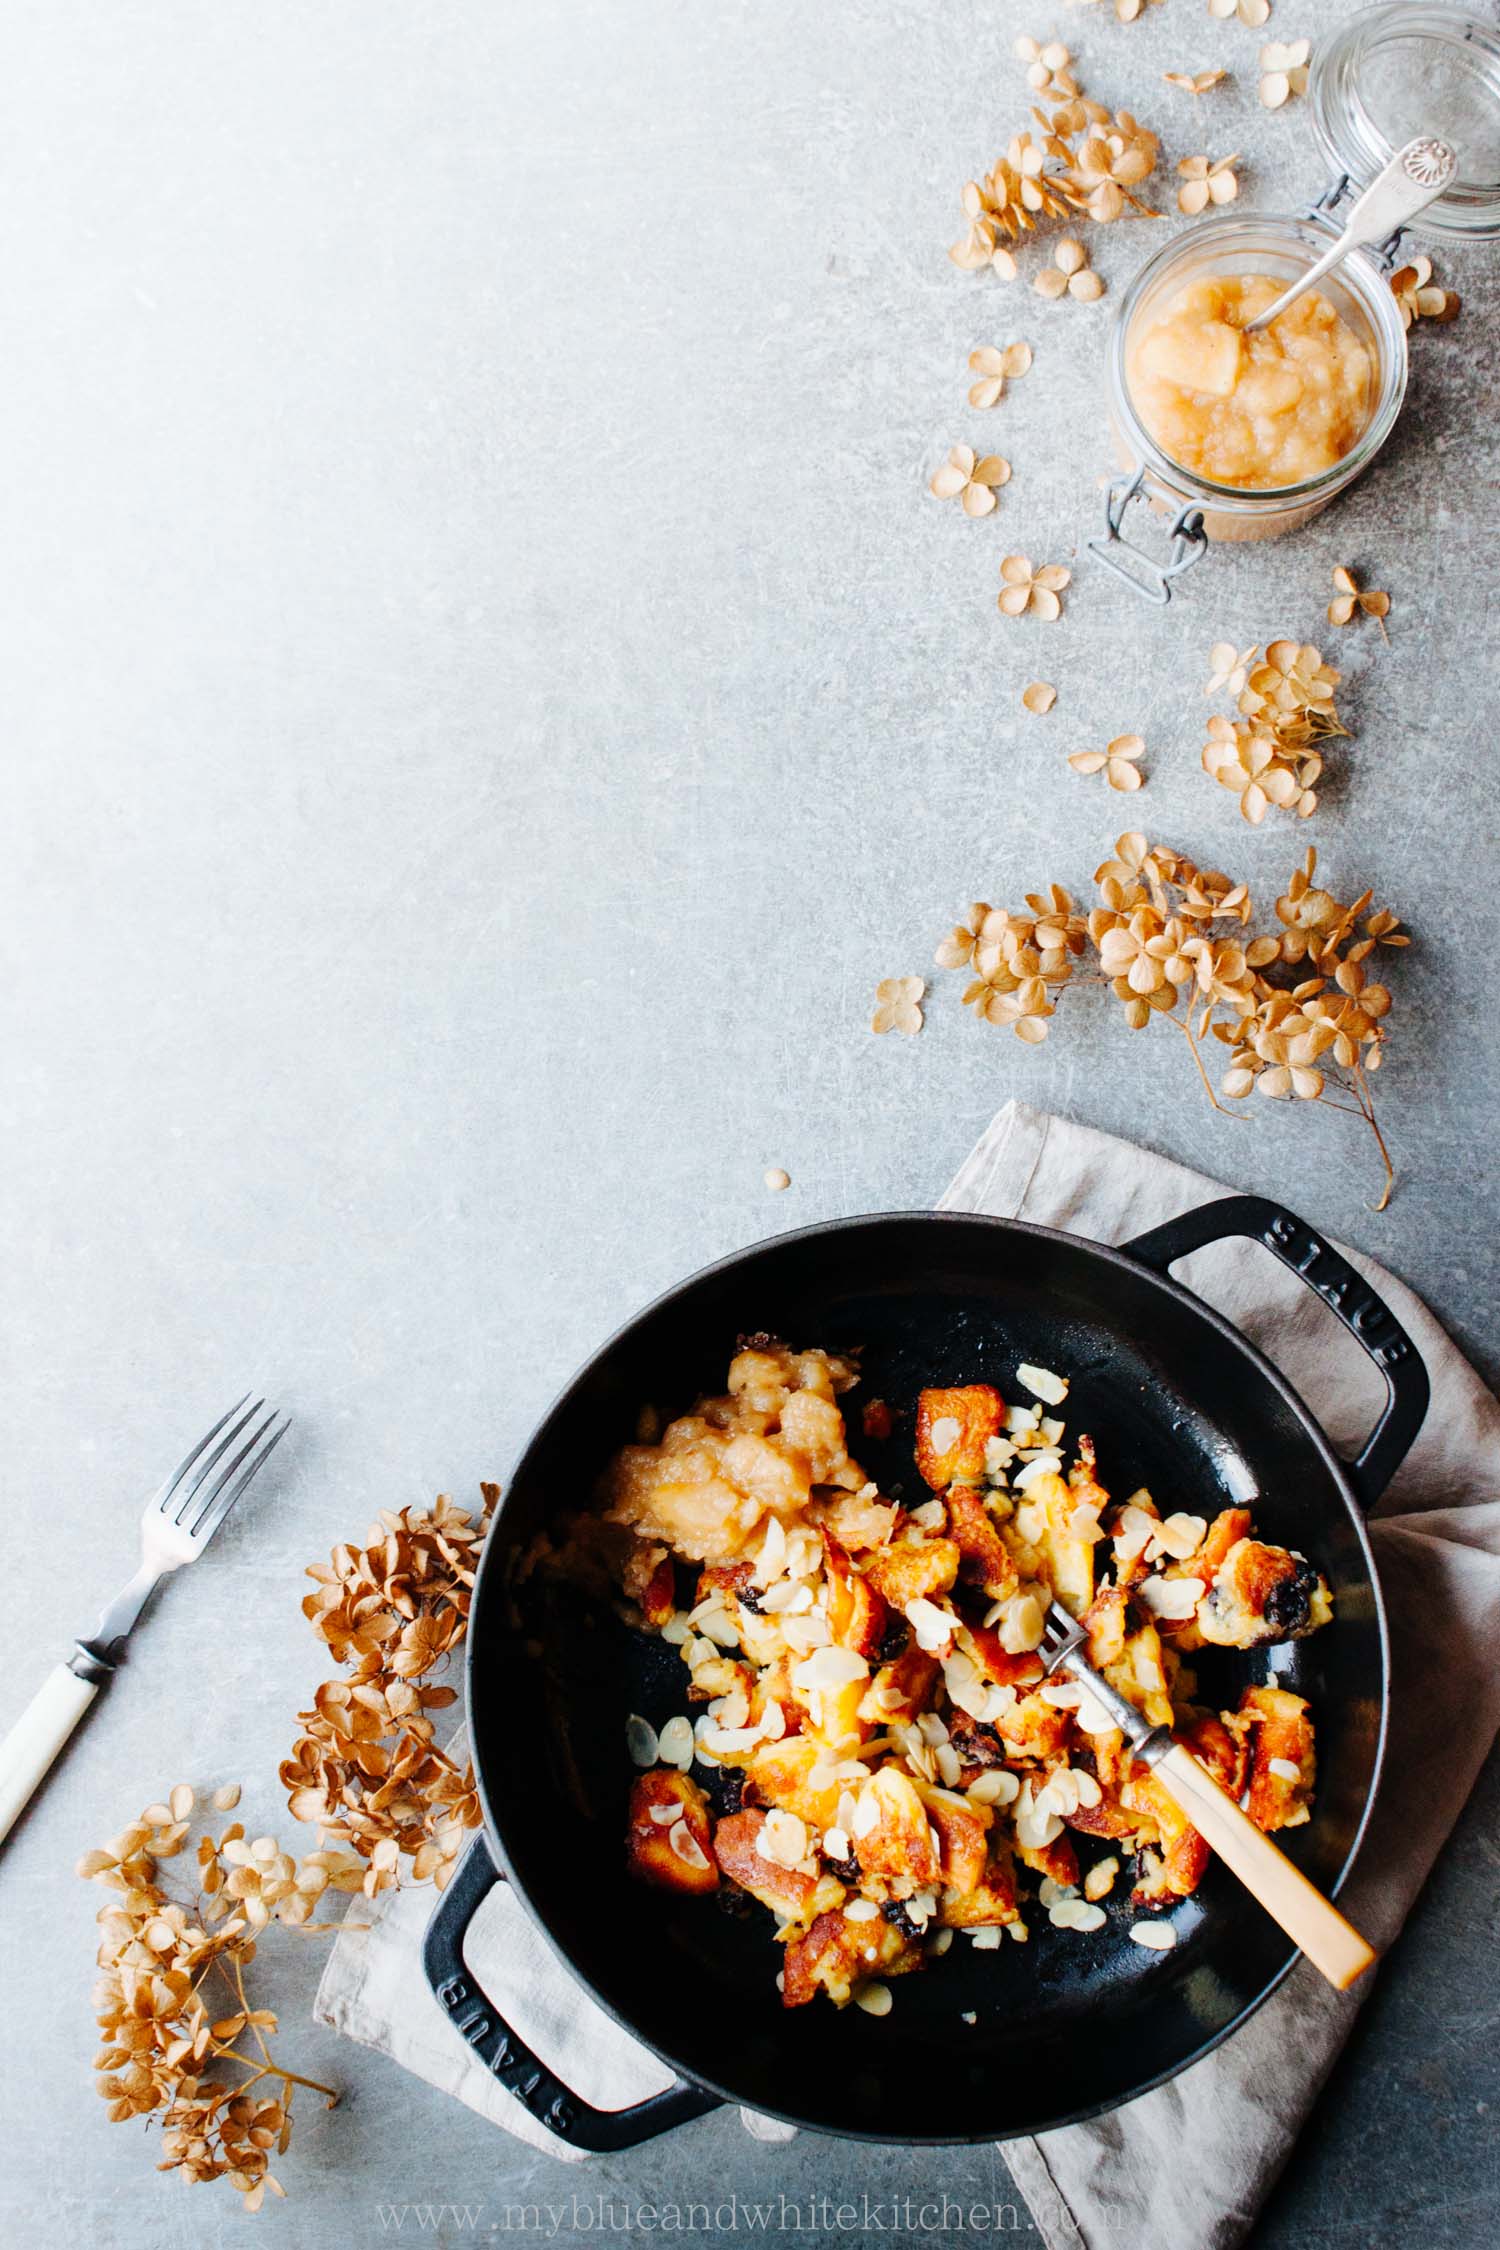
I'm so excited to share this recipe with you today. I've been dying to share it since last winter and now I finally am. Kaiserschmarrn is a kind of caramelized, fluffy Dutch baby that's torn into pieces, sprinkled with sliced almonds, dusted with powdered sugar, and served with fruit compote. It's especially popular in Austria, Southern Germany, and Switzerland, but it's apparently enjoyed in Eastern Europe as well. Kaiserschmarrn is one of the most delicious things I can imagine on cold winter days, especially after a day in the snow, and it's simply meant to be enjoyed in good company.

I experimented a lot to develop my favorite version and am more than happy with the result. According to my dad, it's the best Kaiserschmarrn he has ever eaten and I, although less experienced, can only say the same. It's a winner, a crowd-pleaser, a winter favorite. It's so delicious that I didn't even notice that I missed the final touch, a generous dust of powdered sugar, when frantically trying to photograph this babe in daylight; yeah, the days are getting ridiculously short up here and it's driving me crazy. But hey, maybe it would just be a shame to hide all that gorgeous golden brown under a layer of white sweetness.

Kaiserschmarrn is typically served with apple, plum, or apricot compote. To make a simple apple compote, core and peel a couple of apples and cut them into pieces. Melt a knob of butter and a couple of tablespoons of sugar in a pot over low heat. Add apple pieces, spices (such as cinnamon and clove), and 1 to 2 tablespoons of Calvados, apple juice, or water. Cover and cook over low heat, until apples are tender.

Kaiserschmarrn | My Blue&White Kitchen

Kaiserschmarrn

serves 3 to 4

Please read the recipe carefully before starting. Once the batter is in the pan and you turn it, there isn't much time to look at the recipe anymore. I like to serve it in a single, large pan, but you can make individual portions as well. You can definitely double the recipe. If you do, make it in a larger frying pan. Also, it won't be easy to turn a larger pancake in one piece but that doesn't really matter, as it will be torn into pieces anyway. So just do it.
 

3 tbsp rum
30 g (½ dl; ¼ cup) raisins

2 eggs (European size M; U.S. L), separated
1 ½ tbsp granulated sugar
½ tsp vanilla paste OR ½ vanilla bean, split lengthwise & seeds scraped out
pinch of fine sea salt
1,5 dl (⅔ cup) whole milk
55 g (1 dl; ½ cup minus 1 tbsp) all-purpose flour
15 g (1 tbsp) butter, for frying
15 g + 15 g (1 + 1 tbsp) butter, to caramelize
about ½ dl (¼ cup) sliced almonds
1 ½ tbsp powdered sugar, to caramelize

to serve:
powdered sugar, to finish
apple or plum compote
vanilla ice cream, if desired


Warm up the rum and soak the raisins for about 30 minutes. Drain and set aside.

In a small to medium-sized bowl, beat the egg whites until stiff. Tipp: the egg whites are done when you can turn the bowl upside down without making a mess in your kitchen ;)

In another bowl, cream the egg yolks, sugar, vanilla, and salt. Add milk and whisk until incorporated. Gradually, add the flour while whisking. Carefully fold in the egg whites with a silicone spatula. Don't mix the batter too much or it won't stay fluffy and light!

Heat a 26 cm (10") nonstick frying pan over medium heat and add 15 g/1 tbsp butter. Pour the batter into the frying pan and sprinkle soaked raisins on top. Fry for 10 to 18 minutes, or until the bottom is golden brown. You'll notice that the batter will rise, somewhat like a soufflé. When ready to turn, the batter is solid on the bottom.

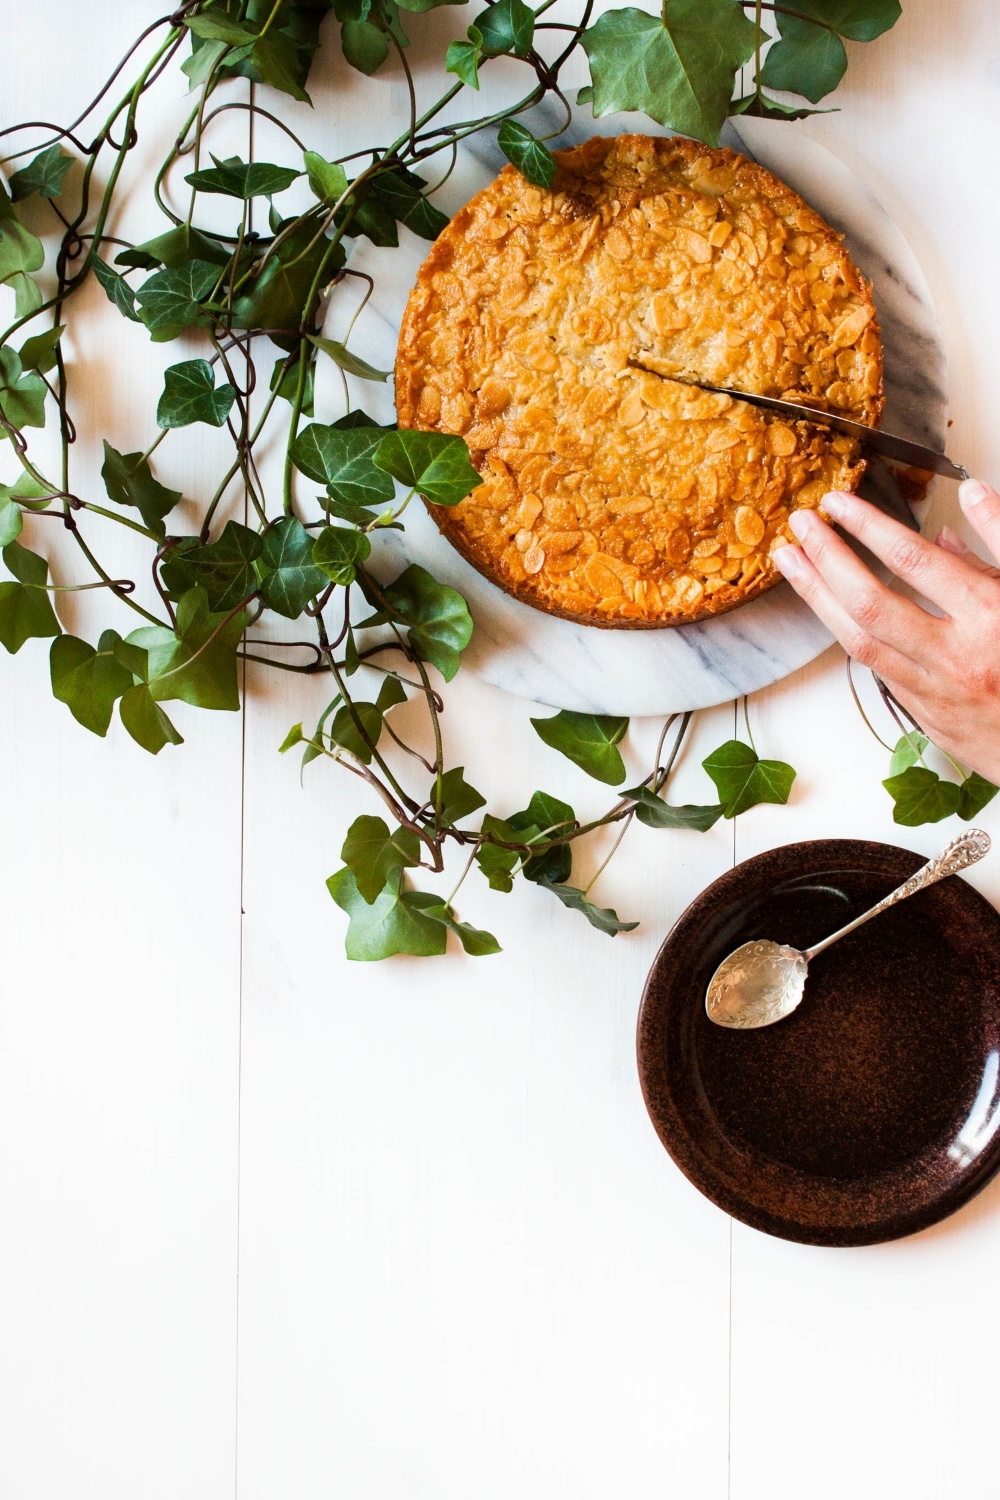
Now comes the tricky part. With a good, flexible spatula, turn over the whole thing. If it breaks, don't worry; we'll soon tear it into pieces anyway. Fry it for 1–2 minutes, then start to break it into about 2,5 cm/1" pieces. Increase the heat to medium-high, add 15 g/1 tbsp butter, and fry for a couple of minutes turning the pieces every now and then, or until the pieces are golden brown all over. Add the remaining 15 g/1 tbsp butter and sliced almonds, and sprinkle with powdered sugar. Fry for about 1 minute, or until it's all nicely caramelized.

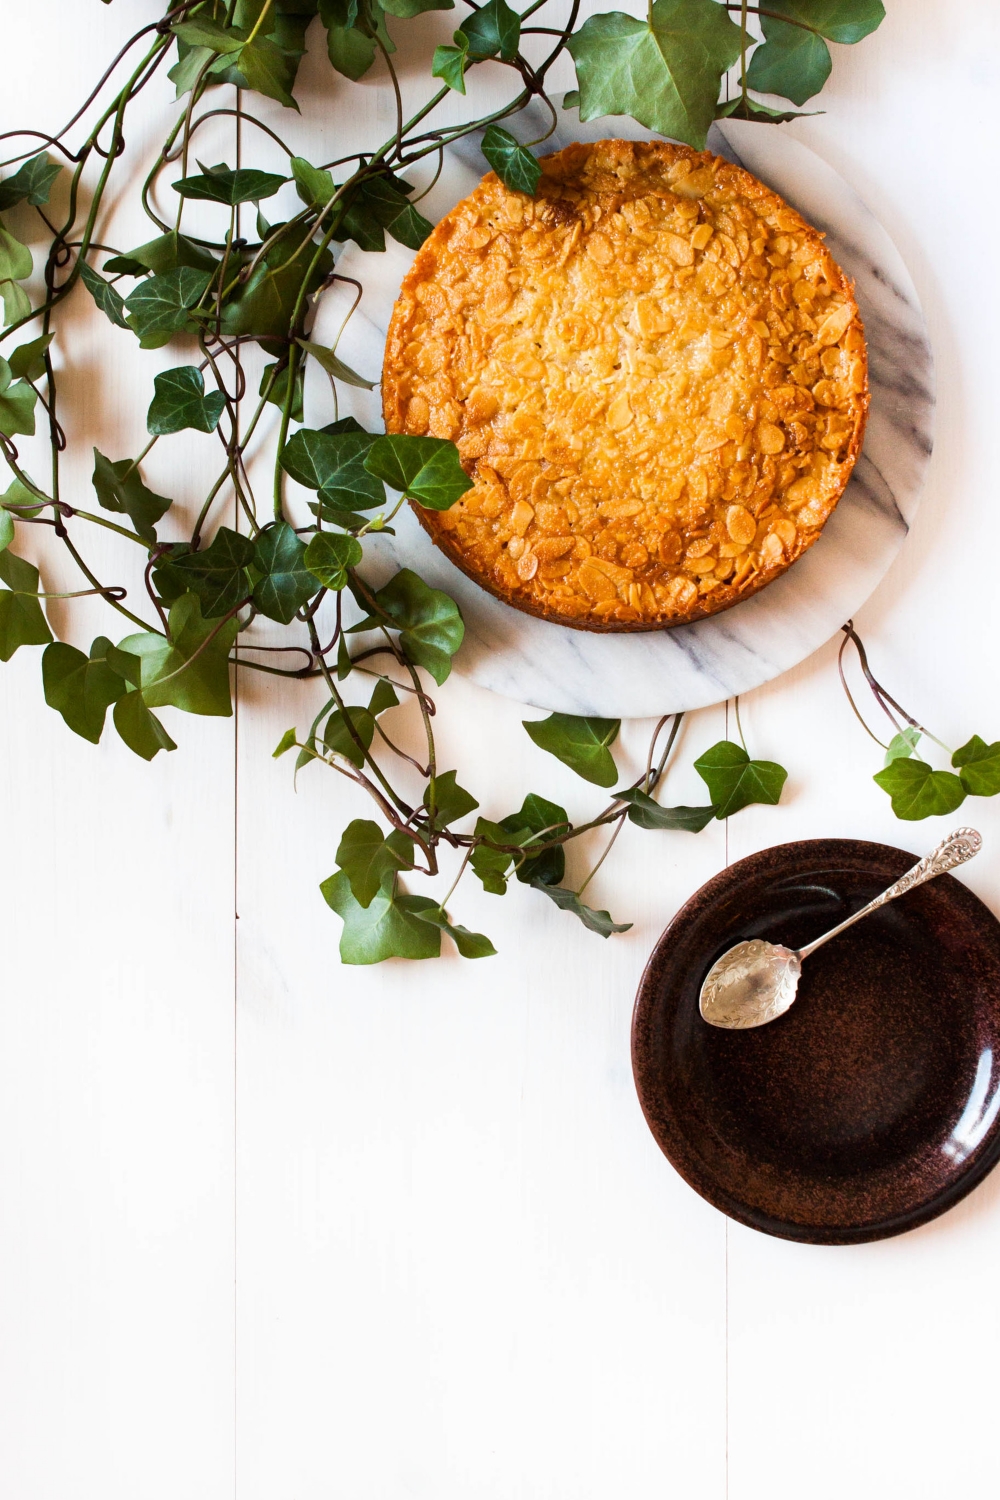
Dust with powdered sugar and serve warm with fruit compote of your choice.
...and vanilla ice cream cetainly isn't a bad idea either.


Kaiserschmarrn | My Blue&White Kitchen

Related Posts

Honey Granola with Summer Berries

Honey Granola with Summer Berries | My Blue&White Kitchen

Midsummer is all about light and flowers. That said, how perfect is this recipe to share around this time of the year? I had the honour of being a guest at Suus' Morning Rituals series on her fabulous food blog Food Bandits. Morning Rituals is one of those food blog series I look most forward to, so it was a real joy to become a part of that international blog and breakfast love. I talked about my breakfast favorites, how I would like to be a morning person, although I'm not, coffee, and shared the recipe for honey granola. You can read the talk I had with Suus here.

This granola recipe was created out of a longing for a simple yet tasty granola that would be lovely with summer's most wonderful berries and fruit. I wanted a granola that would let the summer produce be the star of the bowl. During the colder months, I like to add all kind of spices, nuts, seeds, and dried berries to my granola, so that the granola can easily stand on its own. In summer, however, I look for more delicate flavors.

Honey works great as a sweetener and is a nice alternative to maple syrup that I use often when sweetening homemade granola. Elderflowers are the essence of summer and I just can't believe that elderflower trees are so very hard to find here in Finland. It's not fair, folks! Out of frustration, I've used elderflower syrup a lot lately. I've marinated strawberries in it, made drinks with elderflower syrup and prosecco, and decided to use it in this granola as well. Should you not be able to find elderflower syrup at your local grocery store, look for it at Ikea. I opted for almonds only but you could certainly use whatever nuts you like the most. I'm a sucker for millet in my granola, as I like its texture when toasted; it adds something exciting to the granola mix. Should you not be into millet or don't have it at hand, leave it out or substitute it with seeds of your choice.


Honey Granola with Summer Berries

makes 1 sheet

This granola is naturally gluten-free. However, look for certified gluten-free oats, as oats are often contaminated with gluten, for example during harvesting, milling, or packaging.
 

200 g (5 dl; 2 cups) rolled oats
150 g (2 ½ dl; 1 cup) almonds, roughly chopped
55 g (4 tbsp) millet
¾ tsp fine sea salt
4 tbsp extra virgin olive oil
4 tbsp elderflower syrup
1 ½ dl (2/3 cup) honey

plain yogurt, to serve
summer berries or fruit, to serve
optional: honey or agave nectar, to serve


Preheat oven to 150°C (300°F). Line a baking sheet with parchment paper.

In a medium-sized bowl, combine the oats, almonds, millet, and salt. In another, small bowl, whisk together the olive oil, elderflower syrup, and honey until throughly combined. Add the wet ingredients to the dry ingredients and mix.

Spread the granola mixture evenly onto the lined baking sheet. Bake for 25 to 30 minutes, or until lightly golden. The granola will get crispy as it cools. Stir the granola mixture and flip the sheet half way through. Keep a close look at the granola, as honey tends to brown quickly. Mix the granola mixture several times during the last 10 minutes of baking, as the granola at the edges tends to brown quicker than in the middle.

Let the granola cool completely before storing in an airtight container, such as a mason jar.

Enjoy with plain yogurt and top with your favorite summer berries.


Honey Granola with Summer Berries | My Blue&White Kitchen

Related Posts

Christmas Baking Kickoff – Almond Cookies with Amaretto

Almond Cookies with Amaretto | My Blue&White Kitchen

Today, I'm going to be a real European and ignore Thanksgiving altogether. Let's move right to Christmas and Christmas cookies, shall we? Because the truth is that after you've stuffed your face with turkey and pumpkin pie, you'll need to focus on Christmas. Next Sunday is Advent Sunday so one is officially allowed to be crazy excited about Christmas. [Okay, some of you may have started a bit earlier. Yeah, including yours truly.] For me, getting into Christmas mood means to drink glögg, Scandinavian mulled wine, on a daily basis, write Christmas cards, and bake Christmas cookies. Lots of cookies that is.

For several weeks each year, my kitchen turns into a kingdom of flour, butter, sugar, and nuts. I have a pretty long list of cookies I have to bake every. single. year., including numerous from delicious:days as well as old family favorites. For a cookie recipe to be included into my yearly repertoire, it has to be outstanding. One that you just can't get enough of. One that people fight over to get the last one from the tin box. Folks, I just found a new one.

These almond cookies are to die for. Seriously. I gave a bunch of them to people to see if it was just me who couldn't get enough of these treats (okay, just wanted to share the love). It's probably needless to say that these cookies got rave reviews. My favorite was from my dad stating in a matter-of-fact voice "You're going to bake more of these for Christmas, right?". Right.

The recipe is from Steph's debut cookbook, Easy Gourmet. Most of you probably know her. She's the creative soul behind i am a food blog. The one who puts miso in her mashed potatoes and makes ridiculously cute Totoro grilled cheese (that your friend sends you images of via WhatsApp and you reply with a Totoro cake pic). She also happened to be Saveur Magazine's 2014 Editor's Choice for Best Cooking Blog AND Blog of the Year. Oh and did I already mention that she's one of the sweetest persons I've made friends with on the internet? Yeah, that's Steph.

Easy Gourmet is like i am a food blog but on paper. Steph made an incredible job with this book; she not only developed, cooked, and shot all the recipes but also did the layout as well! 100% her; 100% real. The book is full of tasty and approachable recipes. You can find classics, such as Paella, Porchetta, and Pavlova, but also recipes with a modern, Steph-ish twist, such as Bone Marrow Pasta, French Onion Grilled Cheese, and Lemon Meringue S'Mores. A book for kitchen witches and wizards as well as for those ones who want to become one.

These cookies are full of almondy goodness; crisp on the outside and chewy on the inside. The original recipe calls for 1 tsp almond extract but because I didn't have any at hand and because booze in baked goods is always a good idea, I used amaretto instead. Also, I belong to the range of people who love their cookies topped with flaky sea salt, so I just couldn't resist sprinkling some on top of these ones as well. I also want to mention that if you are one of those people lucky enough to live in a region free of salmonella in eggs (me!) or just aren't afraid of salmonella, then be sure to grab a spoon and dig it deep into the dough before shaping any cookies. The dough tastes excellent (also an important criteria for any great cookie recipe). I may or may not have eaten a fair share of the dough before and during the process of shaping cookies. Call me cookie dough monster.

Enjoy.


Almond Cookies with Amaretto

slightly adapted from Easy Gourmet by Stephanie Le, p. 218
makes 18 cookies

140 g (1 cup) all-purpose flour 
½ tsp baking soda
¾ tsp baking powder
½ tsp fine sea salt
114 g (½ cup) unsalted butter, at room temperature
100 g (½ cup) granulated sugar
110 g (½ cup) light muscovado sugar
115 g (1 cup) almond flour
1 egg (European size M; U.S. size L)
1 tbsp amaretto liqueur
100 g (1 cup) almonds, roughly chopped
50 g (½ cup) sliced almonds
flaky sea salt, to sprinkle

powdered sugar, to decorate


Line two baking sheets with parchment paper. Set aside.

In a small bowl, combine the flour, baking soda, baking powder, and salt. Set aside. With a stand mixer, cream the butter, sugars, and almond flour until light and fluffy. Add the egg and mix until incorporated. Stir in the amaretto liqueur. Add the dry ingredients and mix until combined. Finally, add the chopped almonds. At this point, the dough will be quite soft but should be easy to work with.

Scoop up 2 tablespoons dough at a time, roll into balls, and flatten slightly. Sprinkle with sliced almonds and flaky sea salt. Refrigerate for at least 1 hour or overnight. Chilling the cookies before baking will keep them from spreading too much during baking.

Preheat the oven to 180°C (350°F).

Bake on the middle rack for about 12 minutes, or until the edges turn golden brown but the center still feels slightly soft to the touch. Cool on the sheet for 10 minutes, then transfer to a wire rack. To finish, dust with powdered sugar.


Related Posts

A Quarter of a Century – Mini Almond Pavlovas with Forest Berries

Almond Pavlova with Forest Berries | my blue&white kitchen

In elementary school, we had to write an essay about how we pictured our lives as twentysomethings. I've tried to find that essay without any success but I'm pretty sure I know what that piece of paper contains. I probably dreamed of a life in a red cottage (so Scandinavian!) with a gorgeous husband and lovely children (so cliché!), as well as a cat, dog, and horse (cause I wasn't able to decide which one was cuter). Little did that brown eyed, open-minded, stubborn, and self-confident girl, who was born 200 years after 'Liberté, Égalité, Fraternité ou la Mort!' echoed inside the Bastille, know about where life would take her to in the coming years; that life doesn't always look like the ones in Astrid Lindgren's stories. But does it make it disappointing? Not at all. I've traveled the world and realized both how wonderful and cruel it is at the same time. I may have missed opportunities but I've also said 'yes' and 'no' at just the right moments. I am loved. I'm able to create a career path of my dreams. I can be creative and share it with others; with you. My life may not be perfect but it's good. It's more than good. And that I'm tremendously grateful for.

My life is a bit like these mini pavlovas  maybe not as perfect looking as a layer cake with buttercream frosting but definitely enjoyable and lovable. Pavlova is probably my favorite summer cake and that's why I make it (almost) every year for my birthday. Of course, you can top a pavlova with any fruit of your choice but those winter pavlovas with kiwis and citrus fruit have never really grown on me. I like mine topped with lots of seasonal berries, such as blueberries, bilberries, strawberries, and raspberries. If you're living outside Europe, you may wonder about bilberries. Are they the same as blueberries? Well, not quite but they're closely related. They’re the European wild growing counterpart (and to make it a bit more confusing, we call them 'blueberries' as well). Bilberries are smaller and darker than blueberries but have a fuller, more flavorful taste which is why I most of the time prefer bilberries over blueberries. They’re also a bit messier as their skin and flesh stain everything blue from your fingers and lips to your tongue. As our summer cottage is surrounded by bilberry bushes (I literally have to walk two meters to pick a berry), they’re a heavily consumed summertime favorite. For these pavlovas I used bilberries and wild strawberries which I foraged earlier that day. However, feel free to use whatever berries you have around. I also won't judge you should you prefer to use kiwis and mandarines.

A few notes on meringue. There basically are three different types of meringue which all have distinct characteristics: French, Swiss, and Italian meringue. French meringue is the simplest one and especially popular among home cooks. Egg whites are whipped until stiff peaks start to form, sugar is gradually added, and the mixture is whipped until glossy. Quick and easy, right? Swiss meringue is made by warming egg whites and sugar over a water bath until sugar crystals dissolve completely. The mixture is then whisked until it has cooled to room temperature. Swiss meringue is more stable than French meringue and is ideal if you want meringue that’s crisp on the outside and marshmallow-like on the inside. Personally, I prefer Swiss meringue when making pavlovas because I want to achieve that chewy inside. Furthermore, the heating process makes the egg whites edible without having to bake them. Salmonella isn’t a problem here in Finland (it basically is non-existent), but Swiss meringue may be your top choice especially if living in a country where you have to be careful when consuming raw eggs. The third meringue type is Italian meringue that is made with boiling sugar syrup. It’s the most stable of these three and is, like Swiss meringue, safe to consume without baking. Of course, there are other techniques as well, such as Ottolenghi’s method that I can’t wait to try, but these are the three classic ones.

Now that we’ve covered the three different types, let’s talk about what ensures a perfect meringue. There are a few simple yet important things to keep in mind when making meringue:

  • Make sure that your equipment is absolutely dry, clean, and grease-free. Any small amount of fat will keep your egg whites from getting fluffy. Egg yolks are fat as well so be careful when separating the eggs! Furthermore, it may be a good idea to rub your bowl with half a lemon before starting to make meringue to eliminate any grease.
  • Prefer stainless-steel, glass, or copper bowls when making meringue as plastic bowls can hold onto grease.
  • While eggs are easier to separate when cold, make sure your egg whites are at room temperature when you start making your meringue. However, this isn’t crucial if making Swiss meringue as the egg whites are warmed anyway.
  • Think twice before making meringue on a very humid day. The sugar will absorb moisture from the air keeping your meringue from getting stiff.
  • You often see vinegar or cream of tartar as well as cornstarch added to meringue. Vinegar and cream of tartar mainly stabilize while cornstarch helps to achieve a crisp outside and a chewy inside. These are optional, not necessary to make a successful meringue. In this recipe, I use lemon juice instead of vinegar or cream of tartar and omit cornstarch completely.
  • My meringue formula is really simple and easy to remember: 1 part egg whites to 2 parts sugar (by weight). In addition, lemon juice, vinegar, cream of tartar, or cornstarch as well as any kind of flavoring may be added.
  • Meringue is versatile! You can mix in cocoa powder, berry sauce, different extracts, etc.

Mini Almond Pavlovas with Forest Berries

makes 6 small or 1 big (about 23 cm / 9")
 

For the meringue
4 egg whites (M)
290 g (3 dl + 2 tbsp; 1 cups + 1 tbsp) granulated sugar
1 tbsp lemon juice
about 30 g (½ heaping dl; ¼ cup) sliced almonds

For the topping
200 g (2 dl; 1 scanted cup) heavy cream
200 g (2 dl; 1 scanted cup) Greek or Turkish yogurt
2 tbsp powdered sugar

about 500 g (1 l; 4 cups) berries


To make the meringue
Preheat oven to 125°C (260°F). Line a baking sheet with parchment paper.

Combine the egg whites, sugar, and lemon juice in an absolutely dry, clean, and grease-free medium-sized bowl, pot, or bain-marie. Place over a water bath. While constantly whipping, heat until the mixture has reached 60°C (140°F). At this point the sugar should have dissolved and the mixture starts to get thicker and glossier. Take off the heat. With the help of a standing mixer or electric hand mixer, whisk on high speed until the mixture is cool and stiff peaks form. (You can of course whisk it by hand if you fancy a nice workout. Been there, done that.) This usually takes 6 to 10 minutes. Carefully fold in the almonds.

Spoon the meringue into six equal rounds. Make sure that the meringue is slightly higher at the rims so that the meringue later holds the topping better. Lower the oven temperature to 100°C (200°F). Bake for 55 to 60 minutes. At this point, the outside should be crisp while the inside still has a marshmallow-like consistency (you can lift a meringue round and poke a hole in the bottom; no one will notice). If you decide to make one big pavlova, you'll need to bake the meringue for further 10 or so minutes. Let cool completely.

Unless you're living in a very humid area, you can bake the meringues one day in advance. Store them uncovered at room temperature until ready to assemble.
 

To assemble
To make the topping, whip the heavy cream until very stiff. Gently fold in the yogurt and sugar.

Just before serving, top each meringue with the cream yogurt mixture. Generously top with berries. Serve immediately.


Toscakaka – Nordic Caramel Almond Cake

Toscakaka − Nordic Caramel Almond Cake | my blue&white kitchen

Drumroll, please... My summer vacation started this week! Wohooo! I still can't get my head around the fact that someone is actually paying me for doing nothing. So for the next 4 weeks I get paid for sleeping in, eating strawberries and fresh peas by the handful, hanging out with friends and family, spending way too much time watching music videos like this one, staining my hands with the sweet juices of cherries, chatting with the lovely lady at the farmers' market, sitting on the porch enjoying a glass of chilled rosé, and watching the World Cup every single night. Absolutely no complaints.

This occasion definitely calls for cake. So how about toscakaka? It's basically a classic pound cake topped with one giant Florentine. Pretty damn genius if you ask me. Not without reason is it one of the most loved cakes in Scandinavian baking. I'm not sure of its origin but already my great-great-grandmother, a known cook, baker, and author, baked this cake. The ingredients must have been rather expensive at that time so I guess it has been a treat reserved solely for the upper class.

This cake is baked according to a family recipe. Toscakaka was my late great-grandfather's signature cake, and luckily he left a small note with the ingredients needed to recreate this treat. I've kept that small piece of paper like a gem for several years now, but somehow I've never actually made the cake. Maybe I feared screwing it up? Would I be able to make the cake taste as good as he did? Last week, I finally overcame my fear of failing. The cake came out perfect. I don't know if it tasted as good as the ones my great-grandfather baked but it was everything I could have asked for. A moist cake base and a crunchy caramel almond crust. I was proud of myself, and I'm sure he would have been too.

This cake is highly addictive. I've made three cakes in one week. Yeah. Let it be summer vacation.


Toscakaka – Nordic Caramel Almond Cake

makes one 20 cm / 8" cake

I made a few small adaptions to the original recipe like adding lemon zest to the batter. I think it was lovely but feel free to omit it if you wish to. Also, my great-grandfather was known to always double the caramel almond topping. It appears, however, that he must have been using a larger cake pan. I was baking this cake again last Sunday and decided to double the topping cause HOW CAN ONE NOT WANT MORE OF THAT CRUNCHY GOODNESS!?! Well, I ended up creating a mess as the topping overflew in the oven. So that definitely lacks some more recipe testing...
 

For the dough
125 g (4.4 oz) unsalted butter, at room temperature
135 g (4.8 oz; 1 ½ dl; ⅔ cup) caster sugar
3 eggs (M), at room temperature
zest of 1 lemon
140 g (4.9 oz; 2 ½ dl; 1 cup) all-purpose flour
pinch of fine sea salt
1 ½ tsp baking powder
2 tbsp milk, at room temperature

For the topping
55 g (2 oz) unsalted butter
55 g (2 oz; 1 ¼ dl; ½ cup) sliced almonds
3 tbsp granulated sugar
1 tbsp all-purpose flour
2 tbsp heavy cream

optional: fresh strawberries (or other berries) and Greek yogurt or lightly whipped cream, to serve
 

To make the cake
Preheat oven to 175°C (350°F).

Grease the cake pan (preferably springform). In a small bowl, mix the flour, salt, and baking powder. Set aside. In a bowl of a standing mixer, cream the butter and sugar together until light and fluffy. Add the eggs one at a time and beat until well incorporated. (If your batter breaks at this step, your eggs have probably not been at room temperature or you've added the eggs too quickly. Don't worry. The dough should come together once the flour is added.) Add lemon zest and about half of the flour mixture and mix until smooth. Gradually add the milk and finally the rest of the flour mixture and mix until you have a smooth batter. Pour into the prepared cake pan. Bake on the middle rack for 25–30 minutes or until risen, golden brown in color, and almost done (the cake will continue to bake once the topping is added but needs to be enough cooked to support the topping).


To make the topping
Add the butter, almonds, sugar, flour, and heavy cream to a medium-sized heavy-bottomed pot. Keep your eyes on the cake. When the cake starts to look ready for the topping, start cooking the caramel almond topping (the topping comes together in less than 5 minutes). Over medium-high heat, stir until the mixture starts to bubble and thicken slightly. Remove from heat and pour over the pre-baked cake making sure that it's evenly distributed. I think it's easiest to pour the topping in the middle of the cake and, with the help of a spatula, gently spread into an even layer. Bake for further 10–15 minutes or until the crust is golden brown and bubbles.

Cool for about 10 minutes, and run a knife around the edge of the pan to release the cake. Let cool on a wire rack. The caramel will harden as the cake cools down.

Enjoy at room temperature plain or with fresh berries and some Greek yogurt or lightly whipped cream.


Toscakaka − Nordic Caramel Almond Cake | my blue&white kitchen

Side note: I shot this cake at 9pm. Talking about nightless nights and all that amazingness...