Towards the Light – Nordic Pancakes with Blood Orange & Aperol Compote

Nordic Pancakes w/ Blood Orange & Aperol Compote | My Blue&White Kitchen

Can I tell you an exciting piece of news? Okay, two. Number one: I graduated from university! (Finally. After 7 years it was about time.) Number two (and this is the one I'm currently most excited about): I'm gonna attend Marta's and Sanda's food photography and styling workshop in Portugal in May! I really have to thank my dear friend Jonna, an amazing knitter (she owns the coolest yarn store in whole Finland), photographer (yeh, multitalented), and creative soul, for asking me to join her in this adventure. I can't wait to eat delicious food (I'm looking at you, fresh seafood), drink wine, chat with people around the world, get inspired, learn, and enjoy the beautiful Portuguese coast. We're also gonna spend a couple of days in Lisbon, so I would be thankful for any tips on places to stay, eat, and see. Oh and places to find props. That would be awesome.

Nordic Pancakes w/ Blood Orange & Aperol Compote | My Blue&White Kitchen

May and Portugal are still a couple of months away but I can already feel the promise of spring in the air. The days are finally getting longer – at the moment 6 minutes every day. That's one hour in 10 days! I must say that this phenomenon of days getting shorter and then longer again still fascinates me. Every single year. I mean, I can't believe that last Sunday I was able to shoot in daylight well past 2pm. Crazy. There's still snow but I know we're moving towards the light, towards spring and summer. I guess that's called hope. At least to the Nordic definition of things.

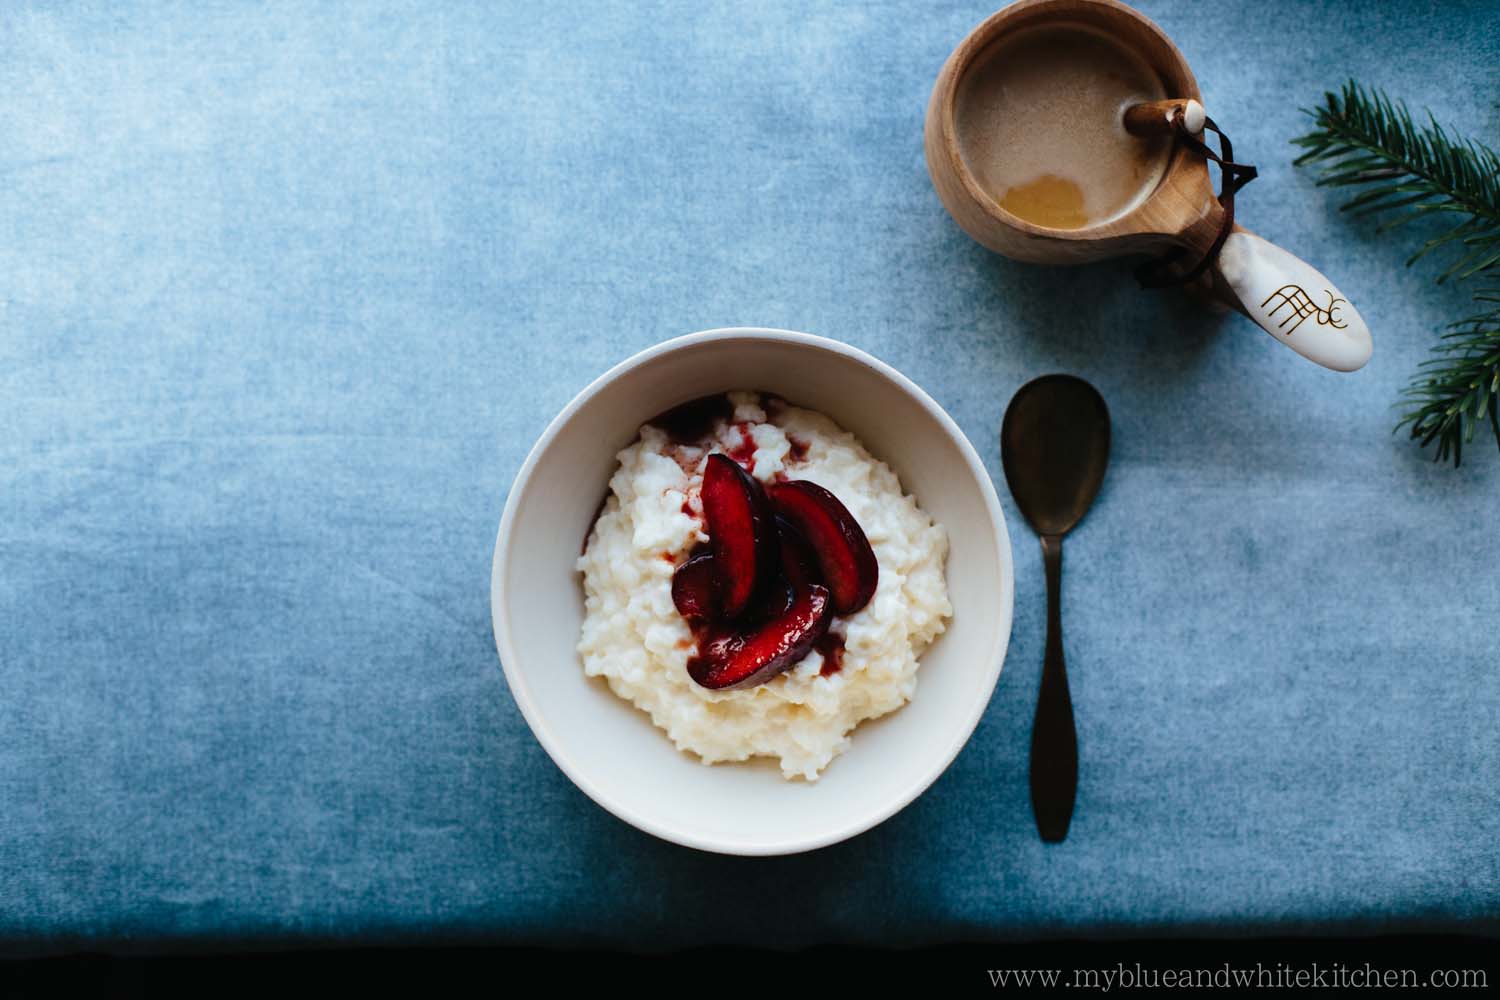
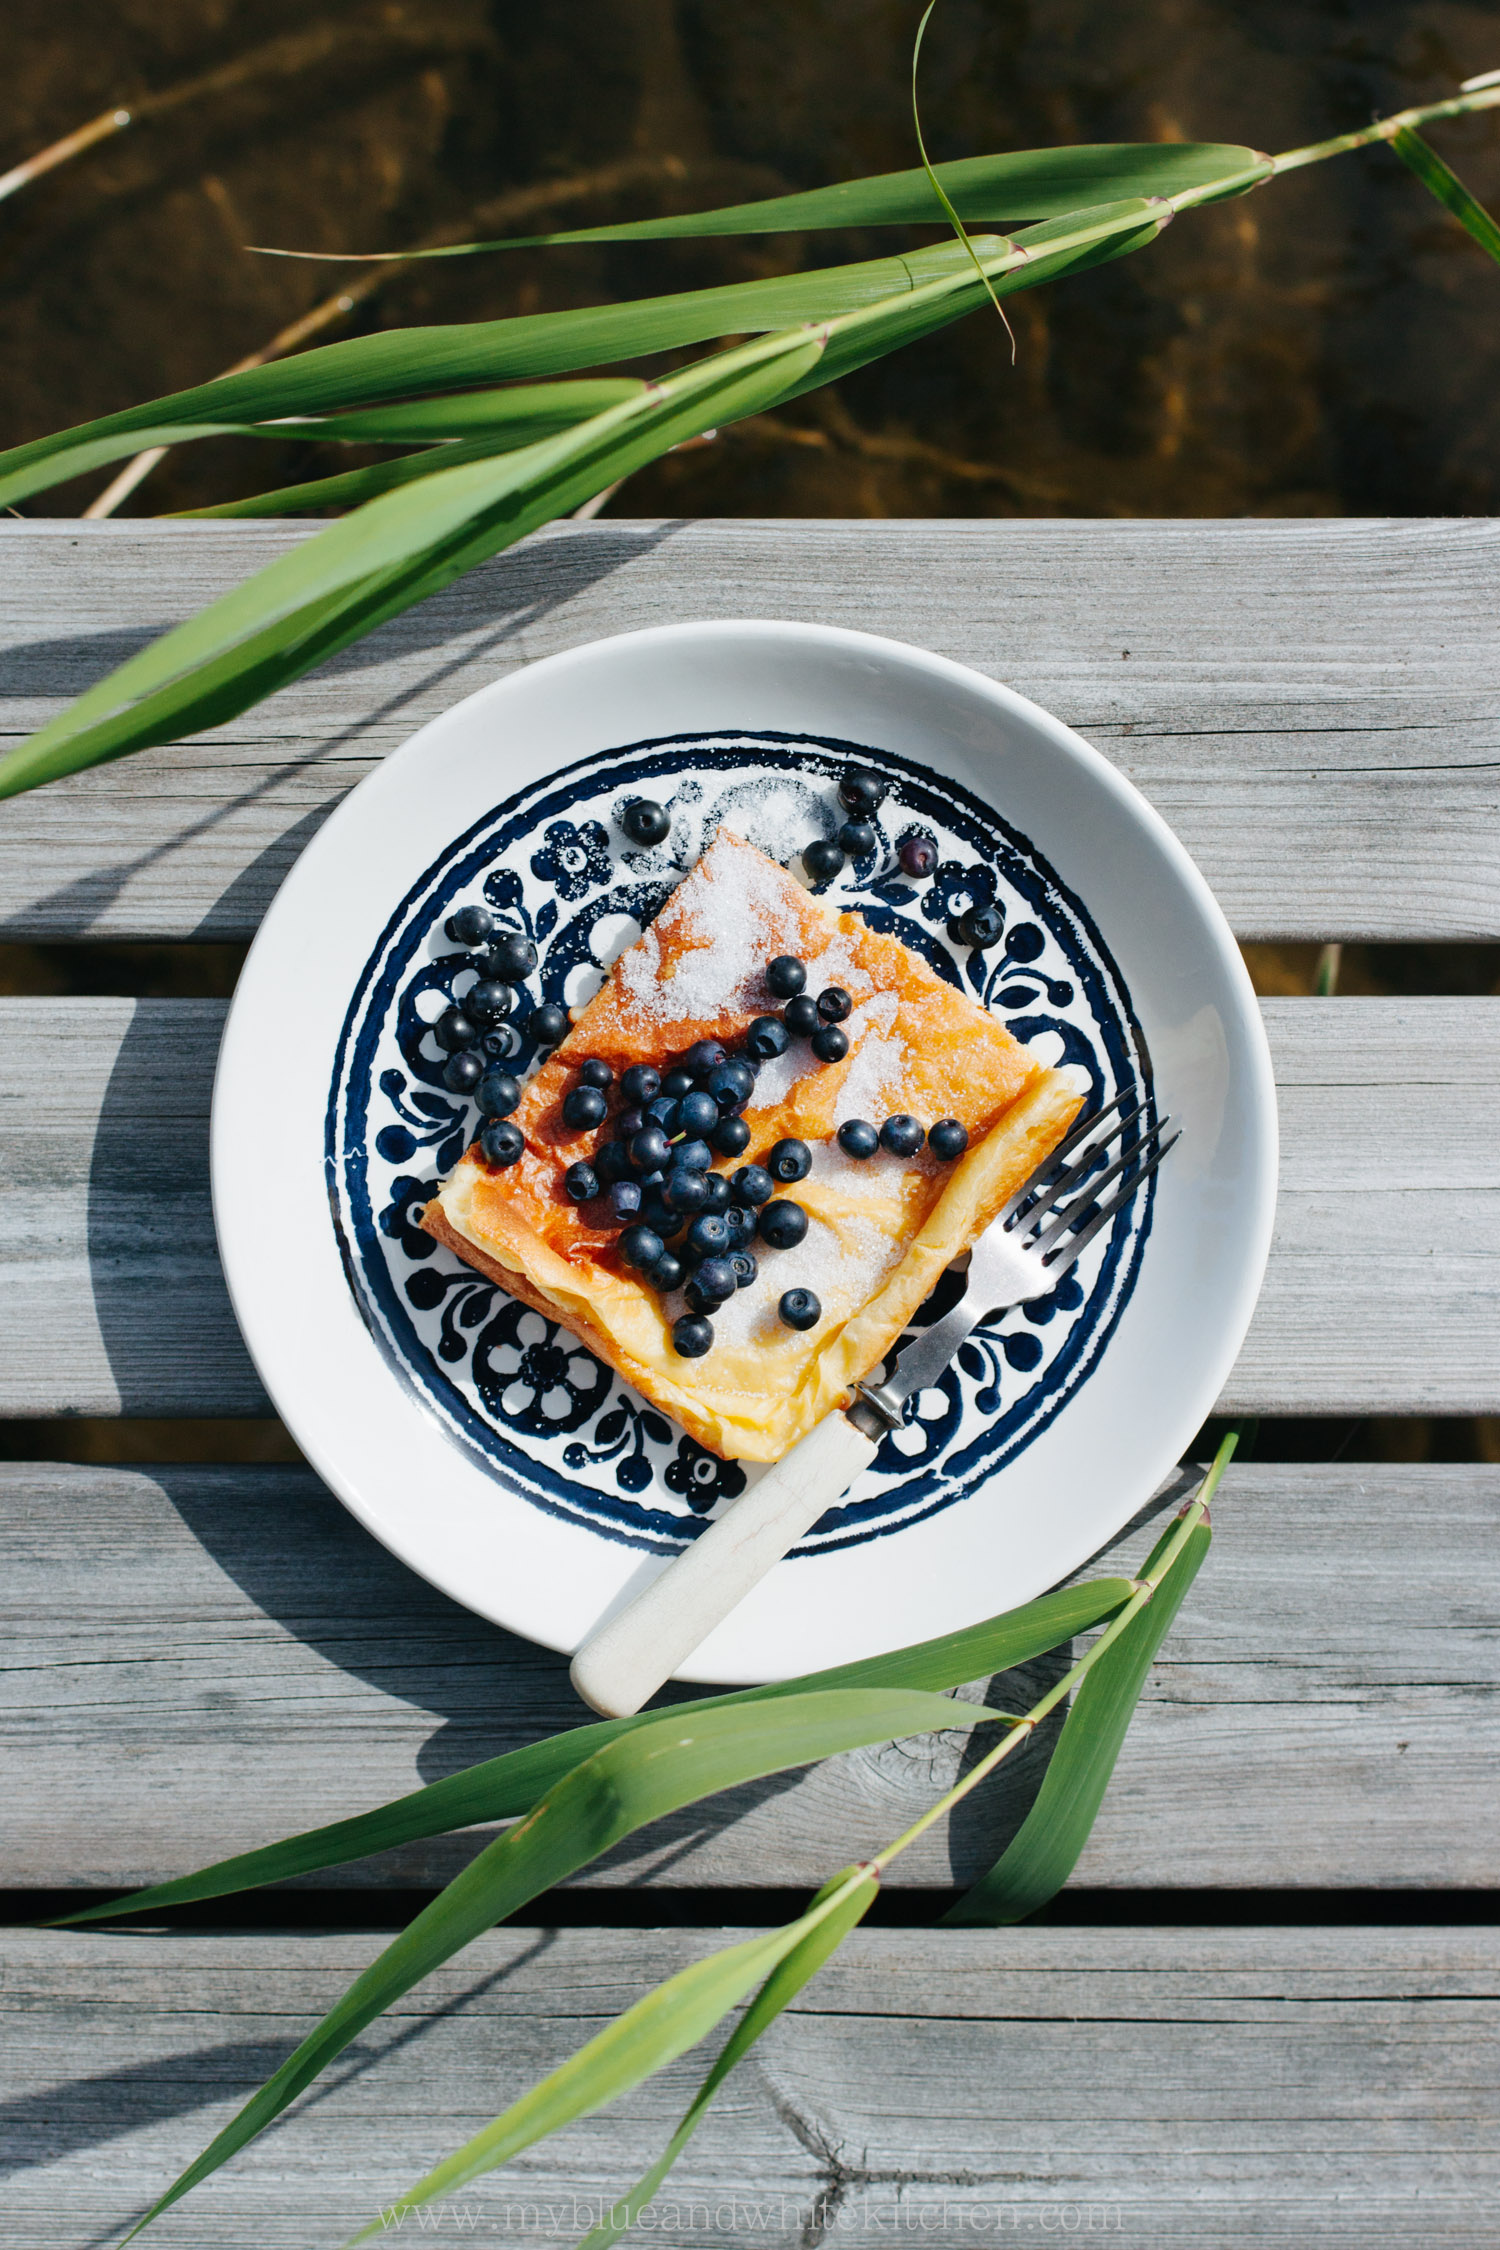
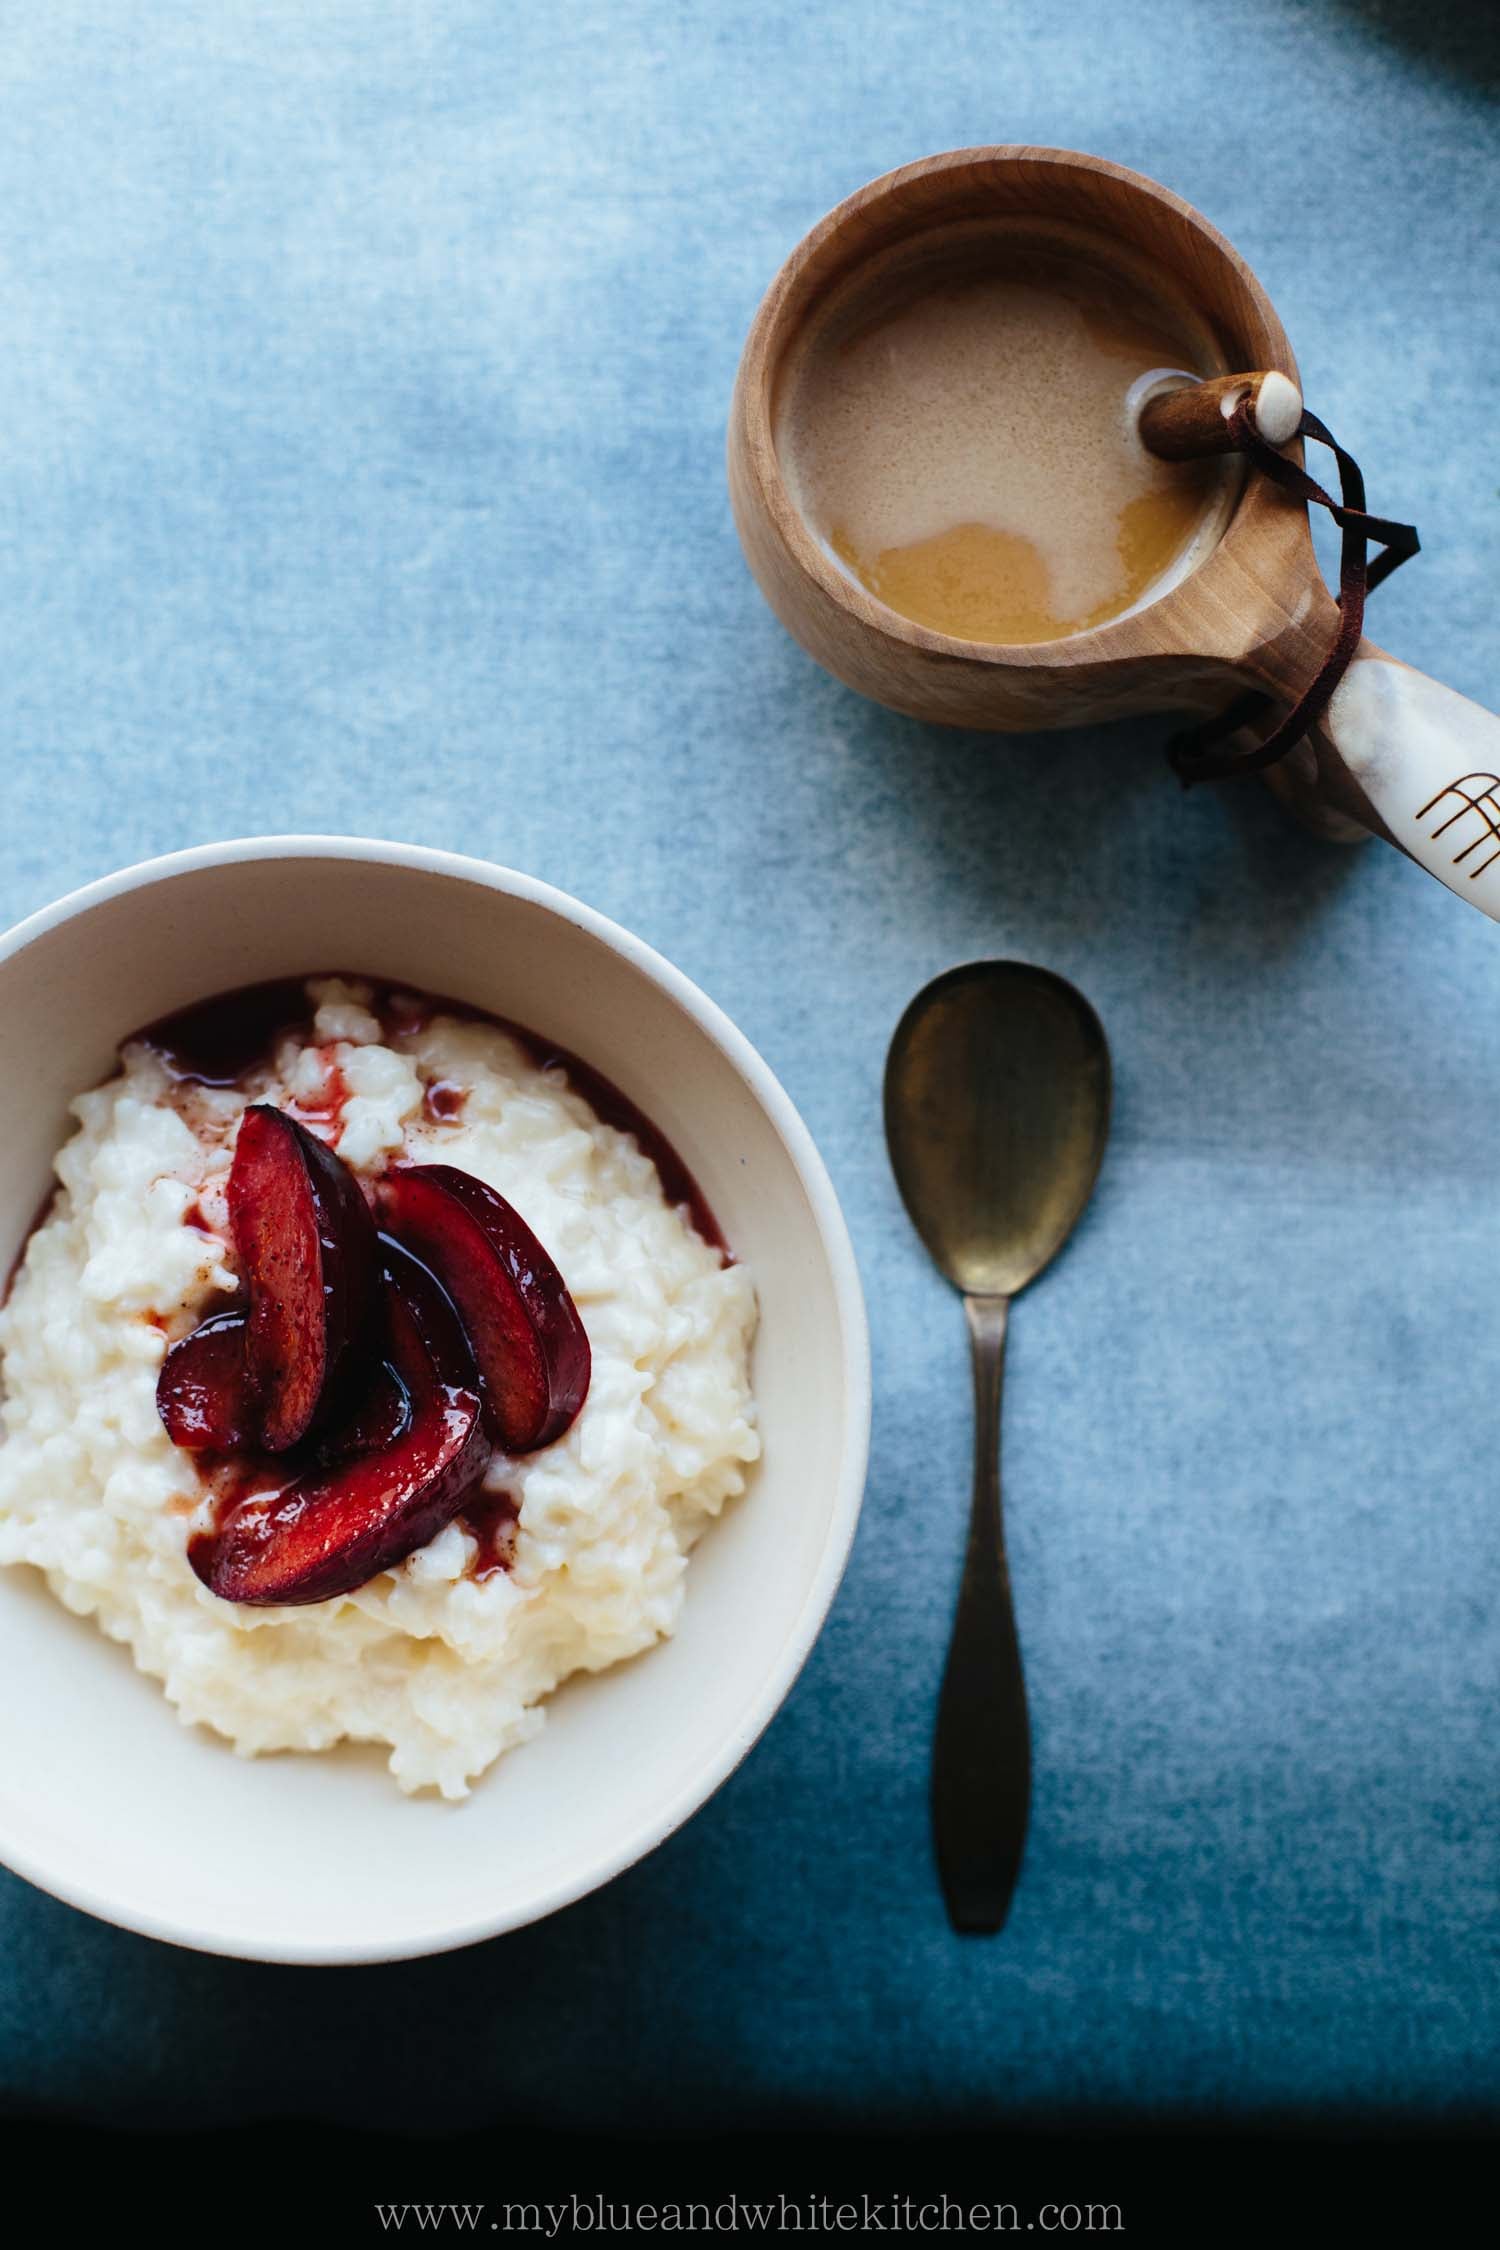
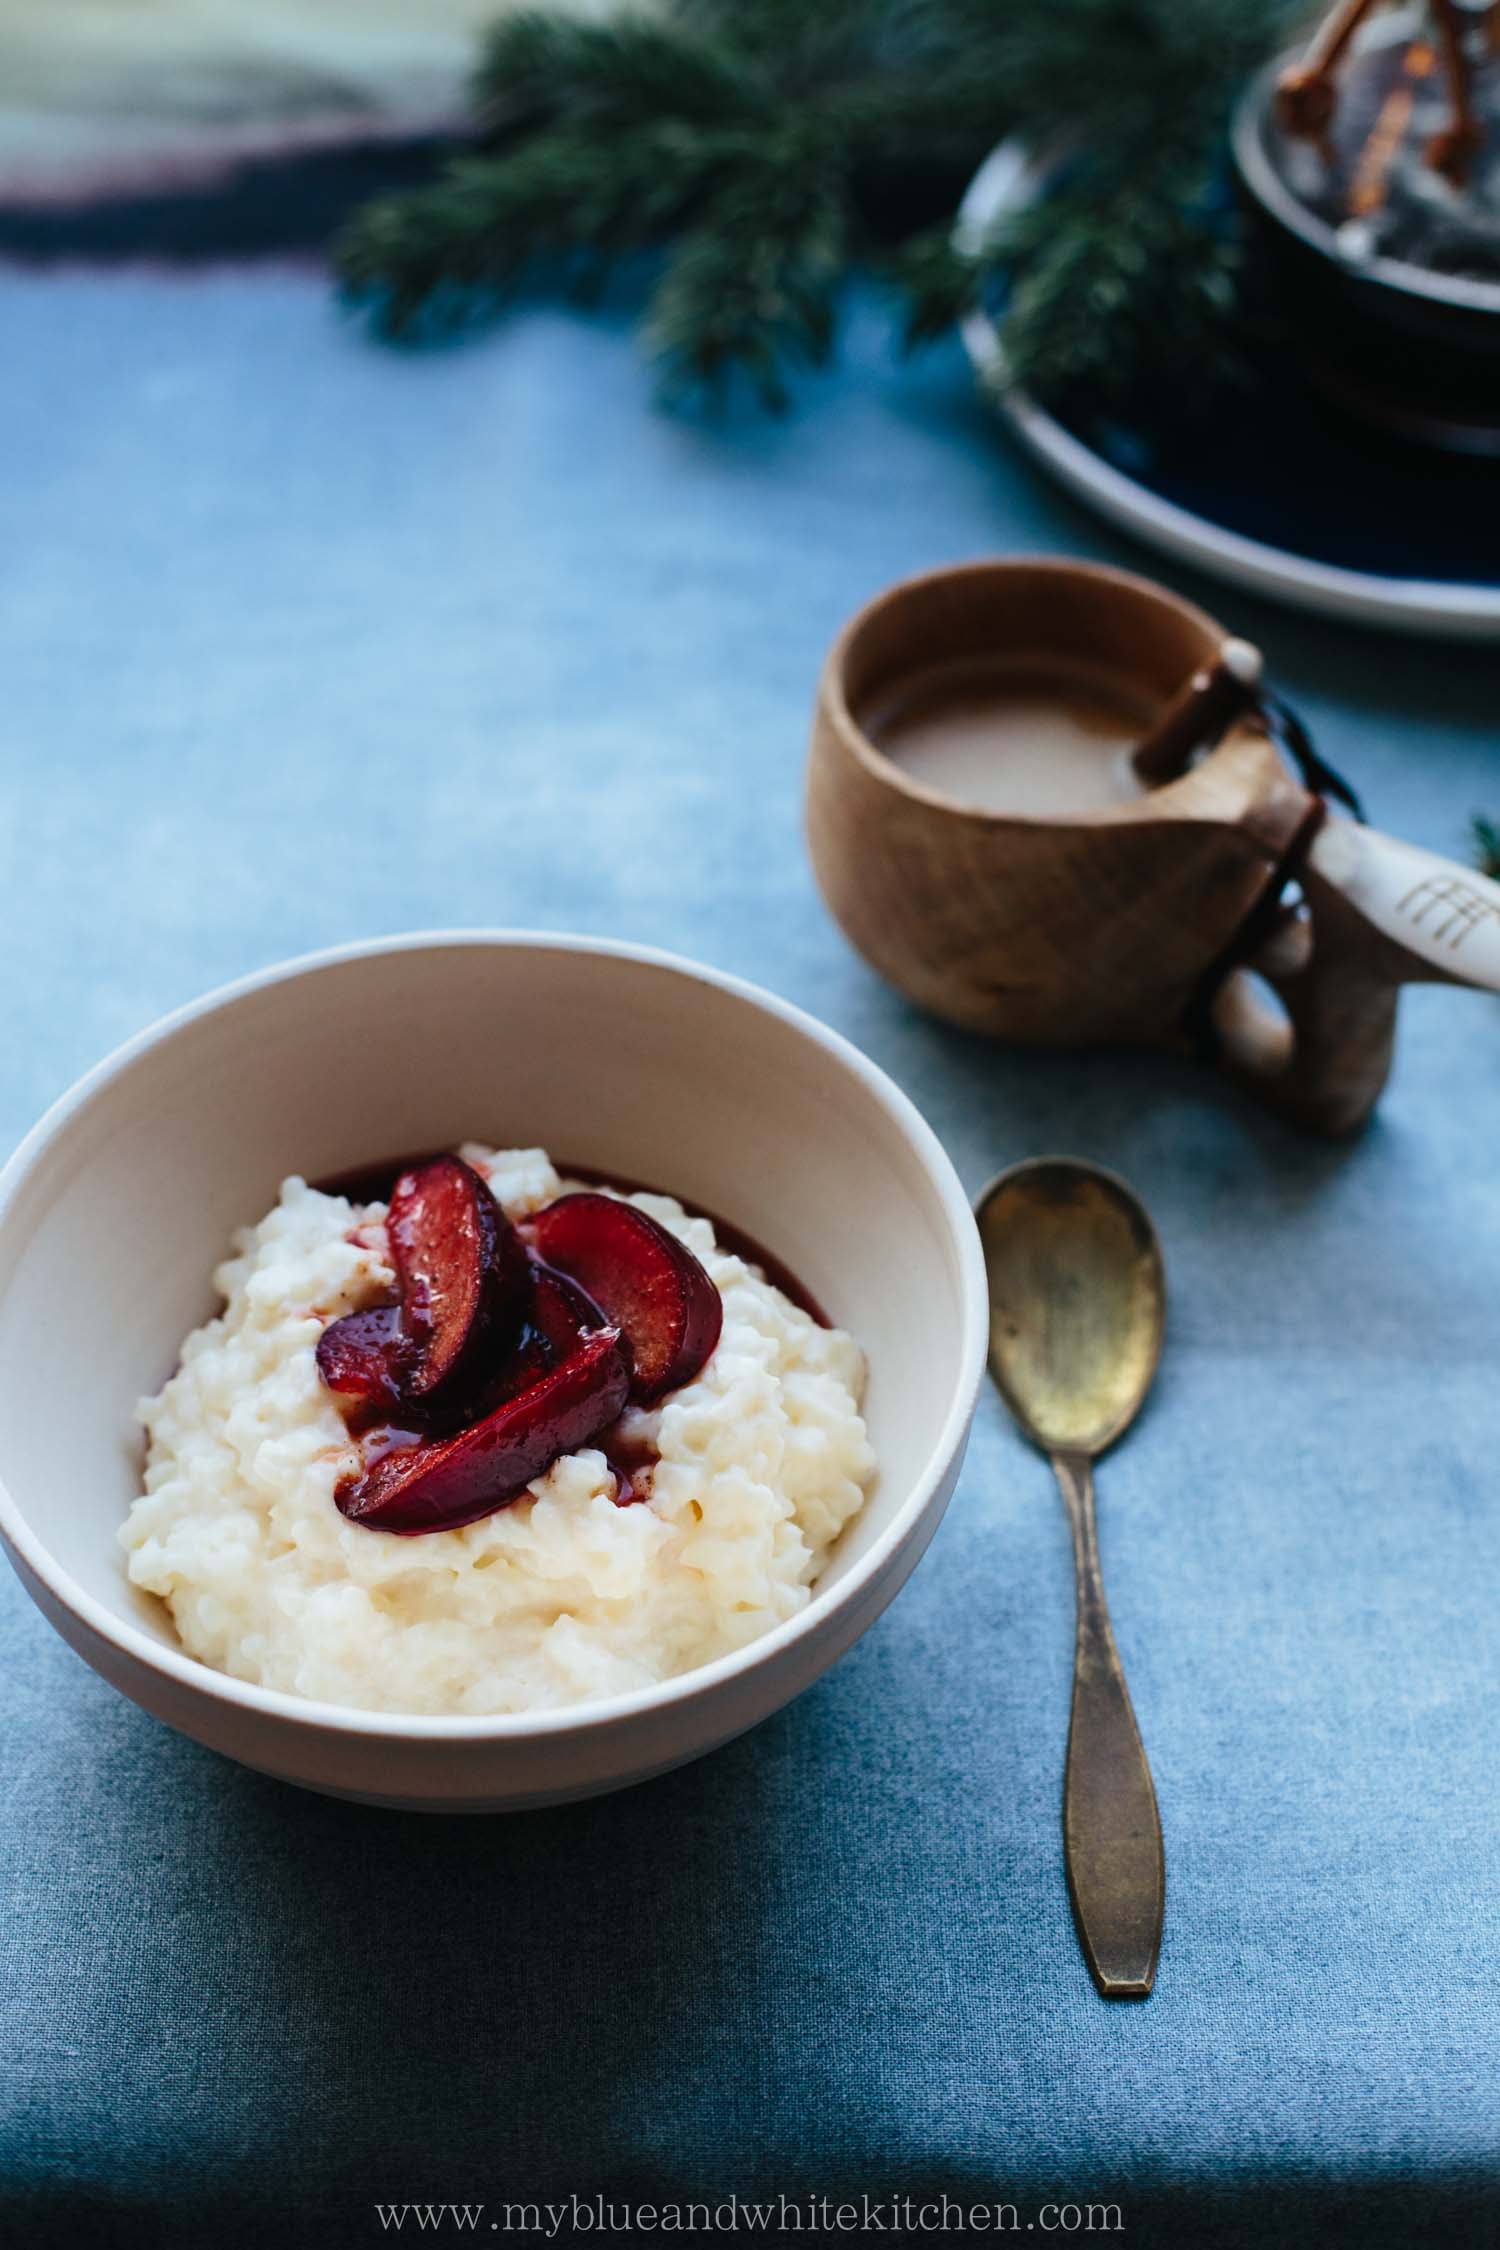
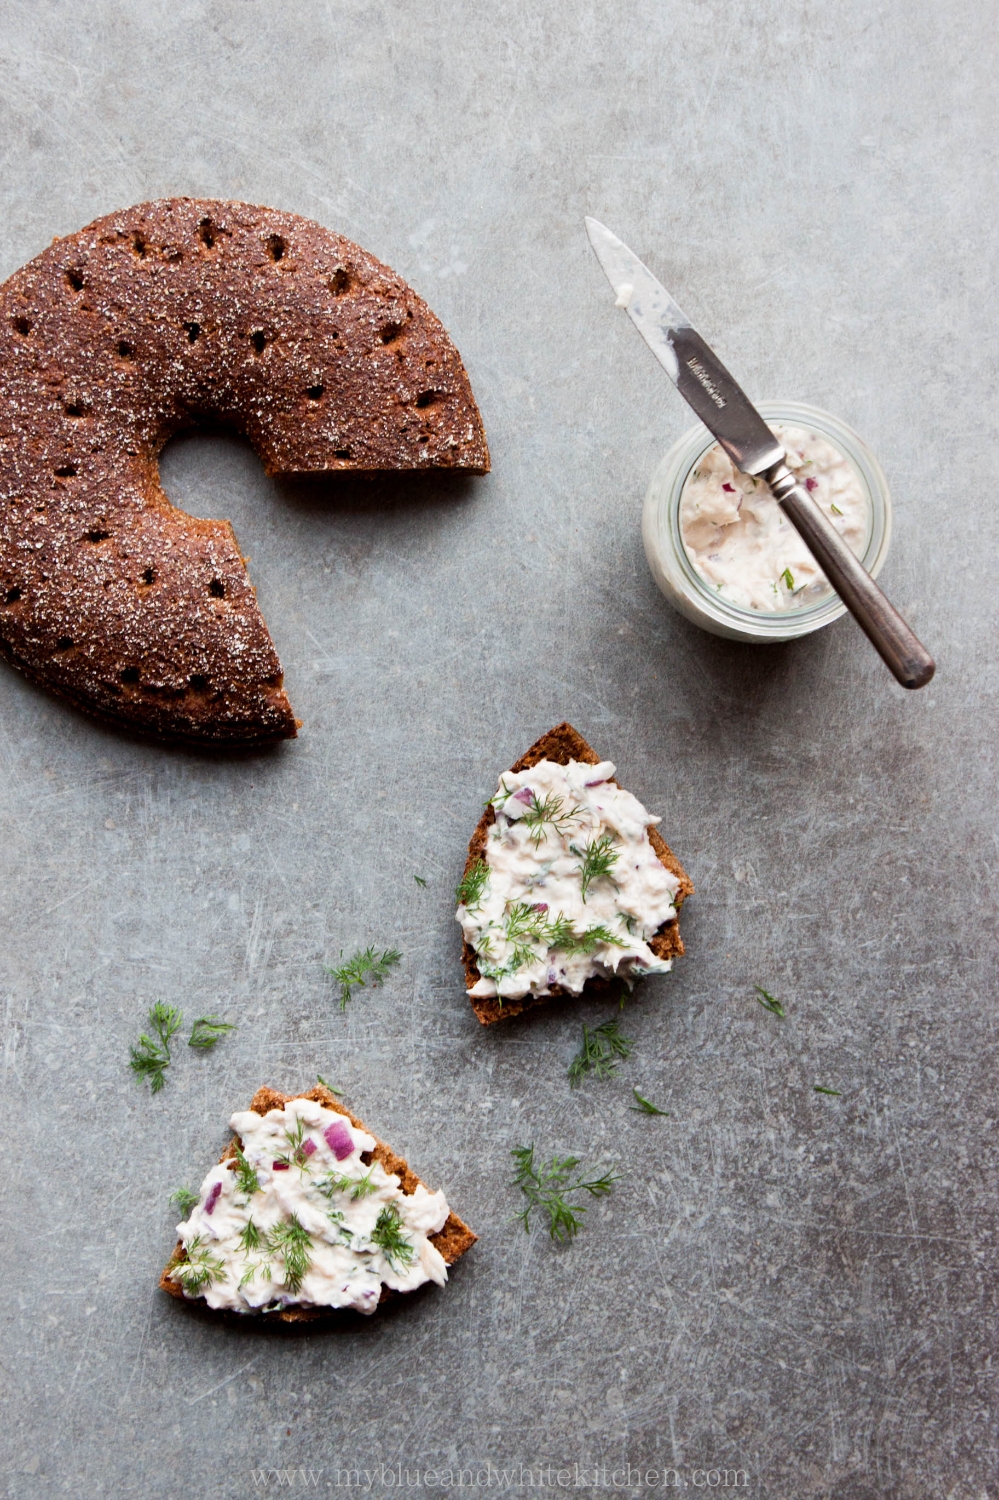
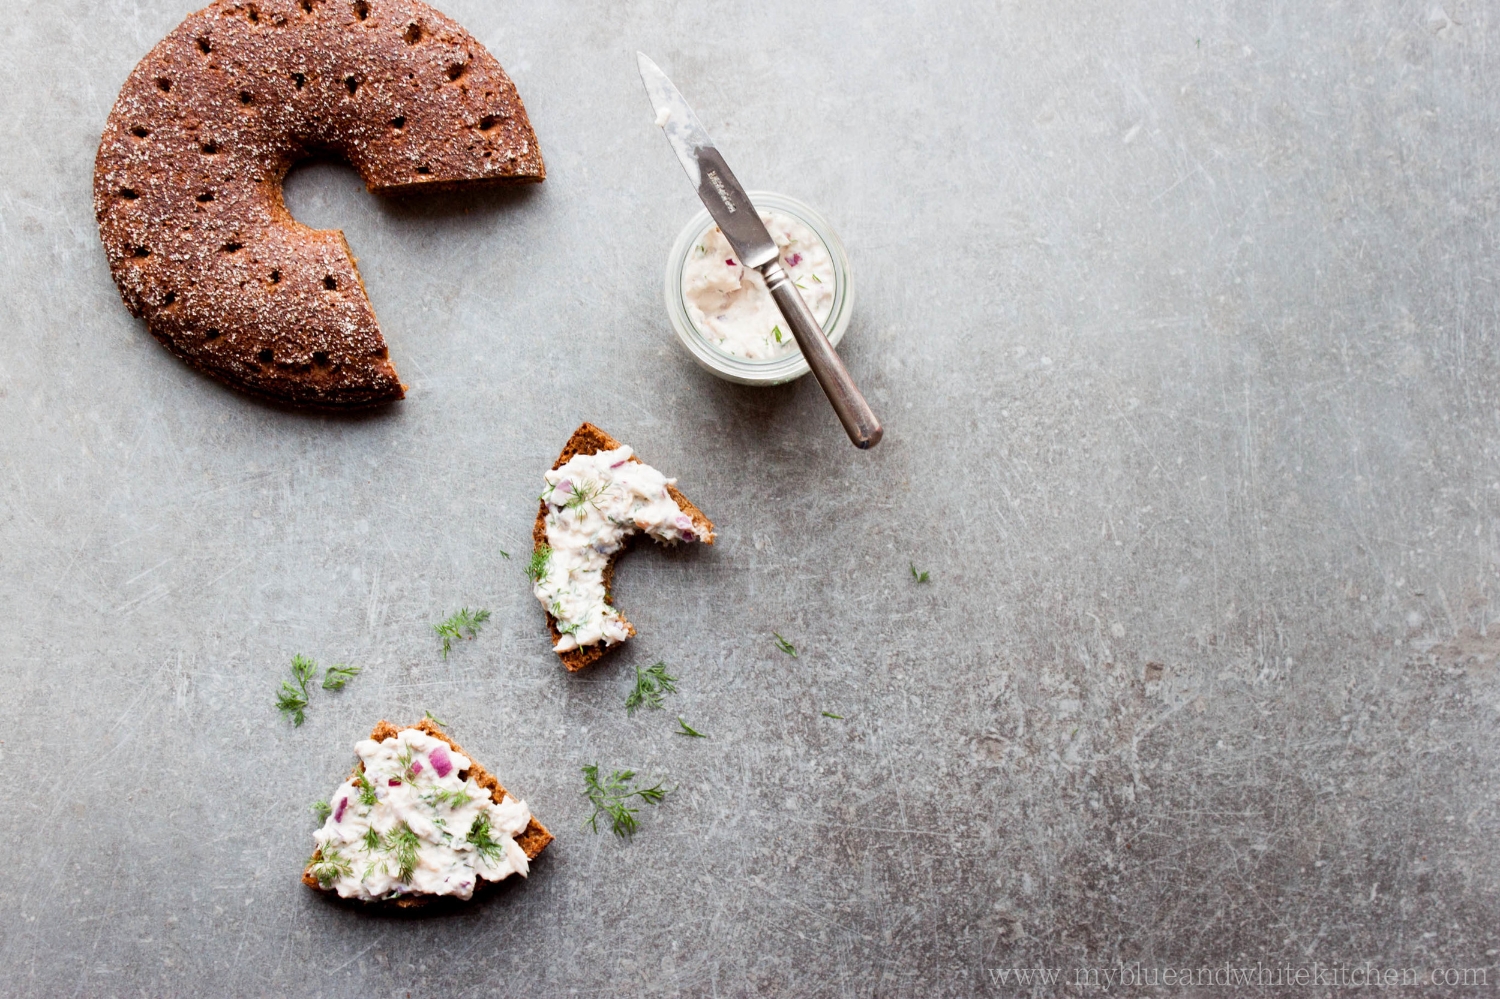
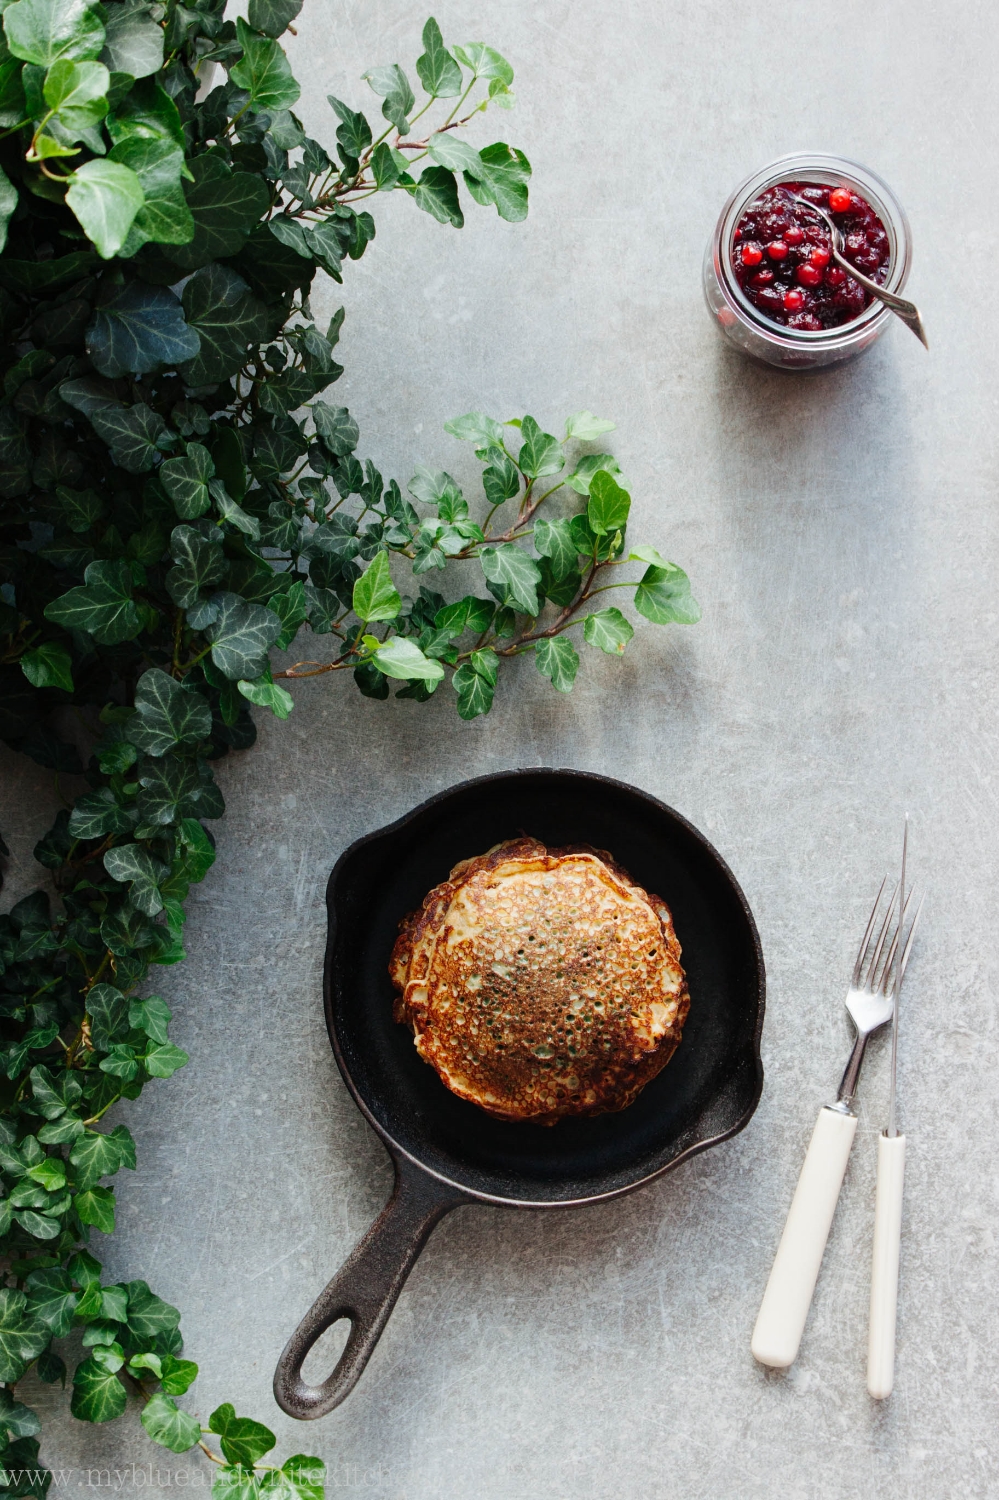
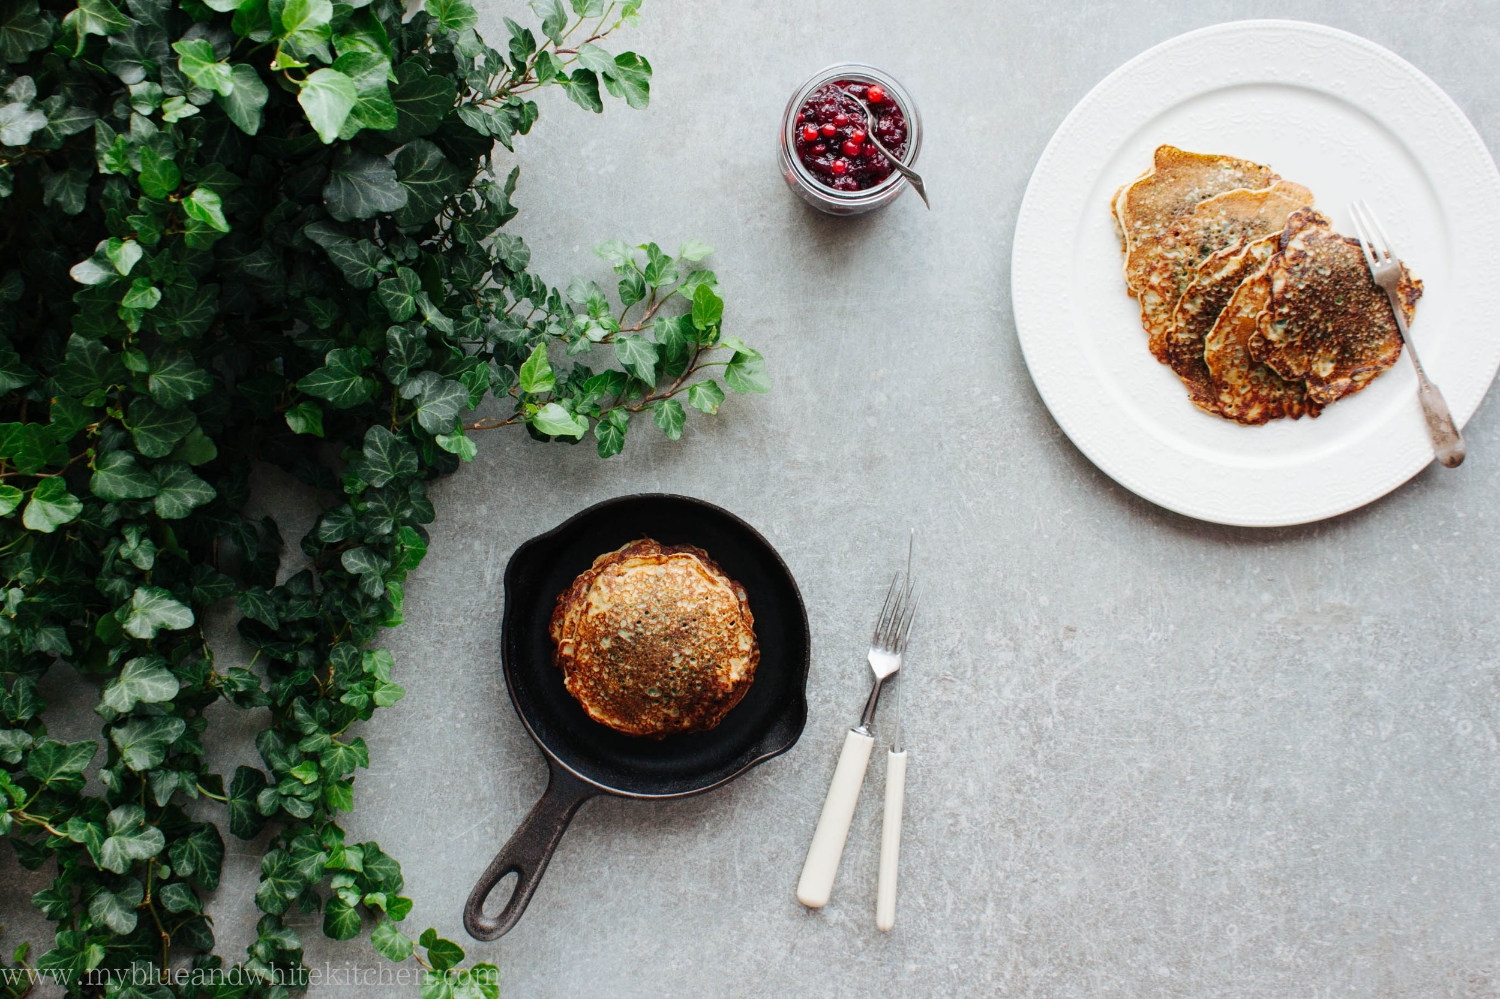
But even if you don't live here up north and wittness the return of daylight in awe, there's also another reason to love late winter days. What I'm talking about is citrus fruit and blood oranges in particular! There are just a couple of weeks left of this glorious season, so make the most of it. My suggestion: these Nordic pancakes served with a superb blood orange compote that is flavored with Aperol and vanilla. Nordic pancakes are similar to French-style crêpes. A perfect Nordic pancake has a lacy, crispy edge – someone who masters this is highly respected in any Nordic country. Don't be afraid of frying thin pancakes or crêpes. It isn't as difficult as many believe; actually, I think that crêpes belong to the same food-that-people-are-afraid-to-make-without-any-rational-reason category as risotto and choux pastry. Once you get the hang of the frying technique, it's easier than making American pancakes. I promise. Oh and don't be fooled by the very first pancake of the batch – it almost always fails (but still tastes great).

Nordic Pancakes w/ Blood Orange & Aperol Compote | My Blue&White Kitchen

Nordic Pancakes with Blood Orange & Aperol Compote

makes 12-15 pancakes, depending on size

If blood oranges aren't in season anymore, you can use oranges instead. In that case I would maybe add a grapefruit or two to the mix. Jam sugar is sugar that contains pectin as a gelling agent and is used to make preserves, such as jam. In the compote, I used jam sugar 1:3 to get a nice consistency but you may use normal sugar or 1:2 jam sugar instead if that's what you have on hand or are okay with a runnier compote. Furthermore, Aperol can be substituted with Campari, a similar type of Italian liqueur.


6 dl (2 ½ cups) milk, preferably whole milk
2 eggs
½ tsp fine sea salt
1 tsp granulated sugar
165 g (3 dl; 1 ¼ cups) all-purpose flour
3 tbsp melted butter, cooled
+ more butter for frying

for the compote:
about 1800 g (4 lb) blood oranges
6 tbsp 1:3 jam sugar
4 tbsp Aperol
½ vanilla bean, split lenghtwise & seeds scraped out

150 g crème fraîche (or sour cream), to serve
 

In a medium-sized bowl, combine the milk, eggs, salt, and sugar. Gradually, add the flour followed by the melted butter. Whisk until smooth. Let the batter rest at room temperature for 15 to 30 minutes. As the batter rests, bits of butter may rise to the surface. Don't worry; just give the batter a good whisk before frying.

Meanwhile, make the compote. First, segment the blood oranges. To do so, cut the top and bottom from the fruit and place it on a chopping board. Working from top to bottom following the curve of the fruit, cut away the skin and pith. A small and sharp knife comes most handy. Next, take the fruit in your hand and hold it over a medium-sized pot to catch the juices. Carefully, cut each inner segment away from the membrane and let the segments fall into the pot. Be careful to discard any white pith or seeds. Repeat with the remaining oranges.

Add the sugar and Aperol to the pot with the segments. Bring to a boil and simmer for about 2 minutes, or until segments have soften a bit. Strain the compote. Set the segments aside (don't throw them away!) and return the juices to the pot. Add the vanilla seeds and pod to the juices. Over medium heat, let the juices simmer uncovered for about 15 minutes, or until reduced and syrupy. Finally, add the reserved orange segments, stir, and set aside to cool.

To fry the pancakes, heat a frying pan over medium-high heat. Add a small knob of butter and a ladle of the batter; we're looking for a thin pancake, about 1 mm in thickness. As soon as the batter hits the pan, pick up the pan and swirl it, so that the batter completely covers the bottom of the pan. Fry until set and golden brown. Flip and fry until the other side is golden brown as well. Transfer fried pancakes to a plate and continue with the remaining batter. Add a small knob of butter between every other pancake.

Serve the pancakes with blood orange & Aperol compote and crème fraîche.


Nordic Pancakes w/ Blood Orange & Aperol Compote | My Blue&White Kitchen

Related Posts

Nordic Winter Mornings – Nordic Rice Porridge with Caramelized Cinnamon Plums

Rice Porridge with Caramelized Cinnamon Plums | My Blue&White Kitchen

It's cold. And by cold I mean temperatures as low as -25°C during the day. Add some wind and it feels more like -40°C. The last two weeks or so have been challenging. For example, keeping your face (and especially your nose!) warm is the no. 1 problem when it comes to leaving the house. Your eyelashes will basically freeze. That may even look cute but it doesn't feel very nice. You'll also find yourself entering a fancy department store in not-so-approriate clothes but end up thinking "Oh whatever! It's freakin' cold outside. Deal with it." Busses and trains won't work as they're supposed to (I'm talking about calcelled trains and bus doors that won't open unless the driver gives them a good kick). You can't use your mobile phone either because it just stops working in a matter of minutes and finally the battery dies. Oh, and let's not forget that your fingers will fall off if you try to use your touch screen. On the other hand, it's never as gorgeous outside as on bitter cold winter days when the sky is blue, the sun shines, and snow covered trees turn the forests into magical winter wonderlands.

Rice Porridge with Caramelized Cinnamon Plums | My Blue&White Kitchen

I guess many of you agree that there's a special kind of comfortness in bowl foods. Maybe it's because they're so easy to eat on the sofa, wrapped up in a huge woolen blanket. Or maybe because they're often pretty flavorful yet simple dishes.

When winter hits hard, it's nice to enjoy a warm breakfast. Porridge is a popular breakfast item in the Nordic countries and many of us enjoy a bowl of oatmeal every single morning. I'm not that kind of a person but I still enjoy having porridge for breakfast every now and then. I especially love rice porridge. Sometimes I serve it with sugar, cinnamon, and milk only but sometimes I top it with caramelized fruit. In today's recipe I've made caramelized cinnamon plums but you could substitute the plums with whatever fruit you like the most, such as apples, pears, or peaches.

Comfort in a bowl. I hope you like it.

Rice Porridge with Caramelized Cinnamon Plums | My Blue&White Kitchen

Nordic Rice Porridge with Caramelized Plums

serves 2

As I mentioned above, you can substitute the plums with whatever fruit fits your taste or the season the best. The porridge itself isn't sweetened at all but you can of course add some sugar if you want to.


for the porridge:
a knob of butter
1 dl (½ cup) water
85 g (1 dl; ½ cup) short-grain white rice
500 ml (2 ¼ cups) whole milk
¼ tsp fine sea salt

for the plums:
2 tbsp butter
2 plums, pitted & sliced into wedges
2 tbsp (demerera) sugar
¼ tsp cinnamon

to serve:
sugar & cinnamon
milk, optional


In a small heavy-bottomed pot, melt the knob of butter. Add the water and bring to a boil. Add the rice. Boil for a couple of minutes, or until the water is completely absorbed. Stir every now and then. Add the milk and cook over low heat for about 40 minutes, or until the rice grains are tender and the porridge is creamy. Remember to stir the porridge regularly to avoid burning and sticking to the bottom.

While the porridge is cooking, make the caramelized cinnamon plums. In a medium-sized frying pan, melt the butter over medium heat. Add the plum wedges, sugar, and cinnamon. Cook for around 2 minutes on each side, or until soft and caramelized. Set aside.

When the porridge is ready, add the salt. If you like your porridge sweet, you can add sugar to taste. Serve with the caramelized cinnamon plums.


Rice Porridge with Caramelized Cinnamon Plums | My Blue&White Kitchen

Related Posts

Nordic Oven Pancake with Wild Blueberries

Nordic Oven Pancake | My Blue&White Kitchen

The last couple of weeks have been busy. To be more exact, I've been busy with life trying to spend as much time outdoors and with friends as possible (now that the weather finally turned as it's supposed to be in summer) and avoiding spending time on the computer or the phone. Summer is prescious and short here, so it always feels like one must make the most of these long days - we'll all miss them once darkness returns.

Nordic Oven Pancake | My Blue&White Kitchen

Picking a highlight of my summer isn't easy, but as some of you may have seen on Instagram, I spent a week in Finnish Lapland and Norway in the end of July. We had planned to hike the 55-km-long Hetta-Pallas trail but the weather was forecasted to be extremely rainy, so that we changed our plans on the very last minute and decided to head further north. Yeah, if there's one thing that I (once again) learned from this trip, it's that things don't always go as planned. But why should they? Often unplanned stops in life are the very best ones. And let me tell you, this trip was no exception. So after spending a day in the Pallas' fells, we drove to Saana, a glorious fell located only a couple of kilometres from the Norwegian border. The hike to the top of the Saana fell wasn't an easy one but definitely worth it. And oh Norwegia - it left us speechless and thankful for all the moments we had there. I've been traveling the world for quite a lot and feel absolutely confident saying that the scenery in Norway is one of the most stunning I've ever seen. I can't wait to discover this country even more.

Nordic Oven Pancake | My Blue&White Kitchen

Another highlight of this summer (every summer to be more exact) have been the countless hours spent picking Nordic berries in the forest. Especially wild blueberries, called bilberries, have grown in abundance this year. I've freezed some for later use, made jam, used them in baked goods, and enjoyed them both plain and as toppings for yogurt, ice cream, etc. These blue fellas are full of flavor and one can get quite addicted to them.

Today, I want to share a true childhood favorite with you: Nordic Oven Pancake. It's basically our version of a Dutch baby, baked on a baking sheet instead of a pan. I like when the center is barely set and still custardy making it an unresistable treat. Oven pancake is perfect when you're too lazy to make crêpes that require much more effort and time; the oven pancake batter is super easy and quick to make and your oven does most of the work. As the pancake itself isn't very sweet, the toppings are what truly makes this dish shine. You can top your slice with whatever you like - fresh berries and/or homemade jam are always a good choice but I also love to enjoy a slice with nothing more than granulated sugar. If you want to get wild and deliscious, add some whipped cream or an ice cream scoop or two.

Wishing you all wonderful late summer days! Enjoy.


Nordic Oven Pancake

makes 1 sheet (size: 39x32,5cm / 15,4"x12,8", measured from the bottom of the pan, excluding rims)

This is a true summer favorite with a custardy center. Be super careful when placing the sheet in the oven making sure not to splash any batter!

1 liter (4 ¼ cups) whole milk
3 tbsp granulated sugar
¾ tsp fine sea salt
4 eggs (European M; U.S. L)
30 g (2 tbsp) butter, melted
250 g (4 ½ dl; 2 cups minus 1 ⅔ tbsp) all-purpose flour


Preheat oven to 200°C (400°F). Line a rimmed baking sheet (at least 2 cm / ¾" deep) with parchment paper.

In a medium-sized bowl, mix together the milk, sugar, salt, eggs, and melted butter until well combined. Gradually add flour and mix until smooth. Let rest for about 30 minutes.

Pour batter into prepared baking sheet. The sheet will be filled to the rim with batter, so be extra careful when placing the sheet in the oven. Bake on the middle rack for 30 to 40 minutes, or until the top is golden brown with darker spots here and there and the bottom is golden brown. The batter will rise in the oven (and look like the Ural Mountains) but falls quickly after being removed from the oven.

Let cool down before serving, so that the center sets proberly. Serve cold or at room temperature with toppings of your choice.


Nordic Oven Pancake | My Blue&White Kitchen

Related Posts

Finding Light & Joy – Smoked Fish Spread

Smoked Fish Spread | My Blue&White Kitchen

One night a couple of months ago, I sat down and "wrote down" a (mental) list of things I would like to start doing, do more, or do again. I was searching for more happy moments, for ways to bring more light and joy into my life. I quickly realised that I would love to have a veggie garden this summer. I'm still working on it but hope to harvest things like radishes, peas, and herbs later this summer. I wanted to knit more both by myself and in company. Since then, I've spent many days knitting while drinking coffee and chatting with lovely people. I also knew that it was finally time to start taking riding lessons again. I spent a great deal of my childhood and adolescence at the stables but had since neglected this passion of mine. Last Monday, I finally sat in the sattle again! My muscles are still hurting (like seriously HURTING!) but I had so much fun. It felt good and familiar. I had found my happy place; well, one of them.

Daily hassles, work, and chores... It's so easy to start neglecting ourselves. What do you want? What brightens up your day? Stop for a while and listen to yourself; to your body and mind. Life can be so very short, so why wait?

Smoked Fish Spread | My Blue&White Kitchen

Because this is a food blog, I also have a recipe for you. This smoked fish spread is one of those recipes that I originally didn't even plan to share with you. I just knew that it wouldn't be the most beautiful dish to look at and that it would be especially hard to do its deliciousness justice in a pic. But as I had my first sporkful of this spread, I just knew that if I wanted to do justice to you, my readers, I would need to share it on the blog. So I did my best to make it look like a thing that you would like to make.

This smoked fish spread is wonderful served on hearty, Nordic style rye bread or with boiled new potatoes. You could also use it as sandwich stuffing! It's really quick and easy to make; the only step that needs a bit of accuracy and time is boning the fish. The spread can be prepared in advance and stored in the fridge until ready to use. Are you celebrating Midsummer next week? Well, I'm definitely going to serve this next Friday and am sure that it will be a total crowd-pleaser.


Smoked Fish Spread

makes about 4 dl / 1 ⅔ cups

You can use any smoked fish. I recommend a nice mix of 2 or 3 types of fish – I used smoked rainbow trout and Atlantic mackerel. The spread can be made ahead and stored in the fridge until ready to use. Serve with hearty rye bread or boiled new potatoes.


300 g smoked fish, skin and bones removed
200 g sour cream
½ red onion, finely chopped
a small bunch of dill, finely chopped
juice of about ¼ lemon
pinch of fine sea salt
freshly ground black pepper

more dill, for garnish


Put the smoked fish into a food processor and pulse briefly - we want to have the fish slightly puréed. In a small bowl, mix together sour cream and onion. Add smoked fish and dill. Season with lemon juice, salt, and pepper. Mix until well combined.

Place in the fridge until ready to use.


Smoked Fish Spread | My Blue&White Kitchen

Related Posts

I'm Back – Stinging Nettle Pancakes

Stinging Nettle Pancakes | My Blue&White Kitchen

I'm back.

I've probably written this post in my head a thousand times already. There's so much I would like to say but I'm lost for words. To be fully honest with you, although I feel glad to be back, I'm also nervous and anxious. What if someone mirrors my blog again? I'll probably never be free of that fear but I can't let it keep me away from what I love; from this space and community, styling and shooting food, developing recipes and sharing them with you. So here I am. Hi, folks!

Before I start to talk about food, I really have to thank you first. I was really touched by your response to my Facebook update 3 months ago where I explained why I had to take down the blog for the time being. Your support has been amazing. Your comments, emails, DMs, and tweets have shown once more what an incredible community this is. A fellow blogger once said to me in an email that our community is widespread but tight knit and I couldn't agree more. So thank you.

The last couple of weeks, I've been waiting for the perfect recipe to share with you but none felt right. Well, until last week when I made these pancakes after a foraging trip to the woods. I knew this would be a recipe I wanted to share with you.

Stinging nettles are great in things like pesto or paired with butter and cream. I also want to make some nettle gnocchi soon. That said, one of my absolute favorite ways to enjoy this wild plant is in pancakes. Spinach pancakes are popular in the Nordic countries, so it comes naturally to adapt that classic dish and use wild nettles instead of spinach; a perfect dish for lunch or dinner. Nordic pancakes are related to French crêpes in size (although we sometimes make small ones too) and texture. However, we like to fry our pancakes until brown in color. A perfect Nordic pancake should have a lacy, crispy edge.

Spring is the perfect time to forage stinging nettles. If you're new to foraging wild plants, stinging nettles are the perfect plant to begin with; they're easy to identify and grow in abundance. There are a couple of things to keep in mind though. Wear gloves when you pick nettles as they sting when touched. Pick the top four to six leaves of each plant; this way the nettles will regrow all summer long. Don't forage stinging nettles near roads, composts, or possibly polluted areas, as the plants absorb harmful nitrogen from soil and air. Remember to use gloves or tongs when you're handling stinging nettles. You can get rid of the sting by boiling or crushing the plants after which they can be handled without the fear of getting that nasty stinging sensation.

As always when I'm talking about foraging, don't forage or eat any plants, mushrooms, or berries that you can't identify with 100% certainty. This is not the time to experiment as the results may in the worst case be fatal.


Stinging Nettle Pancakes

serves 3 to 4

You can make small or big pancakes; mine were around 10 cm (4") in diameter. If you're using a large frying pan, you can fry several small pancakes at the same time. I like to serve these pancakes with lingonberry or cranberry jam but the topping options are endless; I tried these with sour cream and smoked salmon as well as sprinkled with nothing but sugar and both versions were delicious.

6 dl (2 ½ cups) milk
3 eggs
1 tsp fine sea salt
165 g (3 dl; 1 ¼ cups) all-purpose flour
3 tbsp melted butter
about 1 liter (4 ½ cups) loosely packed stinging nettles, cleaned

butter, for frying

lingonberry or cranberry jam (or any other topping of your choice), to serve


In a medium-sized bowl, combine the milk, eggs, and salt. Whisk to combine. Gradually, add the flour followed by the melted butter. Whisk until the batter is smooth. Let rest at room temperature for half an hour. As the batter rests, bits of butter may rise to the surface. Don't worry; just give the batter a good mix before frying.

Meanwhile, quickly blanch the stinging nettles: bring a large pot of water to a boil, add the stinging nettles, and let boil for 10 to 30 seconds. Remove the stinging nettles and place under cold running water or plunge into ice water. Drain and squeeze the blanched stinging nettles to remove as much water as possible. Chop finely and add to the pancake batter.

To fry the pancakes, heat a frying pan over medium-high heat. Add a knob of butter and a ladle of the batter; we're looking for a relatively thin pancake, about 2 mm in thickness. Fry until set and browned. Flip and fry until the other side is brown as well. Transfer fried pancakes to a plate and continue with the remaining batter. Add a small knob of butter between each pancake.

Serve warm with lingonberry or cranberry jam or toppings of your choice.


Stinging Nettle Pancakes | My Blue&White Kitchen

Related Posts